Peanut Butter S’mores Sandwich Cookies Recipe Everyone Will Love
There’s something about s’mores that just screams summer. Add peanut butter into the mix and you’ve got yourself a treat that’s gooey, melty, chocolatey—and totally unforgettable. In this detailed guide, you’ll learn how to make rich, chewy, and absolutely irresistible peanut butter s’mores sandwich cookies at home. We’ll walk through every step, from selecting the best ingredients and mastering the bake to assembling like a pro and storing your cookies the right way.
Whether you’re baking for your kids, hosting a summer party, or just want a cozy dessert for movie night, these cookies deliver all the nostalgic flavors of a classic s’more—with a nutty, buttery twist.
Table of Contents
What Are Peanut Butter S’mores Sandwich Cookies?
Peanut butter s’mores sandwich cookies are a creative twist on the classic campfire dessert. Instead of graham crackers, you get soft and chewy peanut butter cookies that hug a delicious center of gooey marshmallow fluff, melted chocolate, and even more peanut butter.
They’re sweet, slightly salty, and incredibly satisfying—plus, they’re way less messy to eat than traditional s’mores. You don’t need a bonfire or skewers. Just a bowl, a spoon, and an oven. And maybe a little patience while they cool (but trust me, it’s worth it!).
This recipe brings together the best parts of a peanut butter cookie sandwich and a s’mores dessert recipe, making it a must-try for cookie lovers and s’mores fans alike.
Ingredients Breakdown and Variations
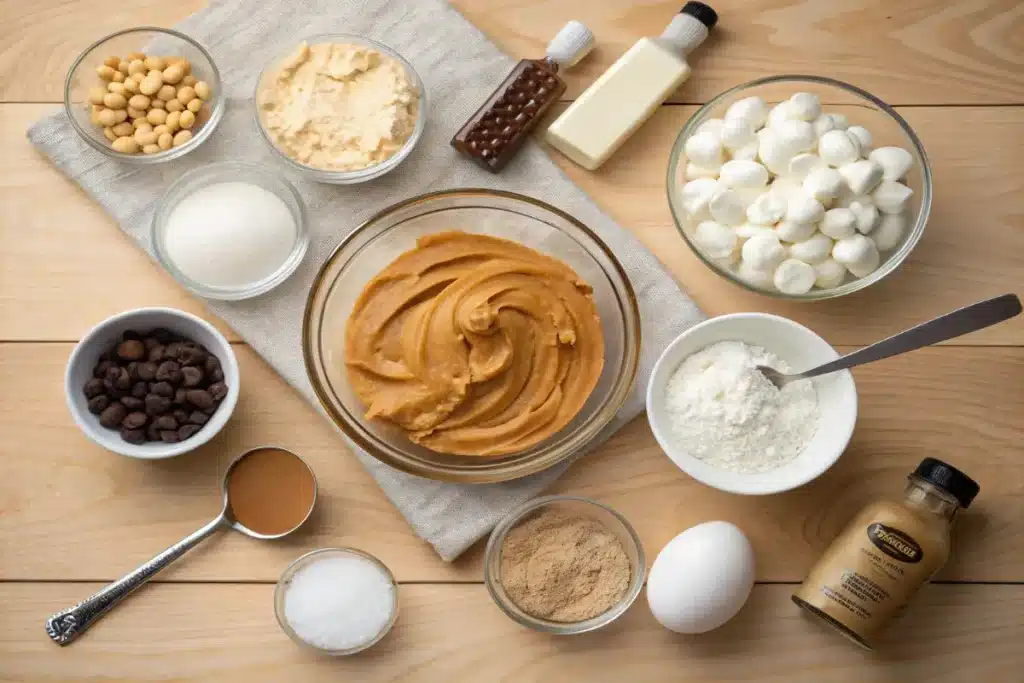
Let’s start with the essentials. Here are the core ingredients for the cookie dough and fillings:

Classic Cookie Dough Ingredients:
- Creamy peanut butter – Adds richness and that unmistakable peanut butter flavor. If you’re unsure which kind to use, check out this helpful guide to the best peanut butter brands for baking.
- Unsalted butter – Keeps cookies tender and balances the salty-sweet profile.
- Granulated sugar + light brown sugar – Brown sugar makes the cookies soft and chewy, while granulated sugar helps with structure.
- All-purpose flour – Your base for structure.
- Baking powder + pinch of salt – Helps the cookies rise just enough and enhances all the flavors.
- Egg – For structure and moisture.
- Vanilla extract – Boosts flavor and aroma.
Filling Ingredients:
- Marshmallow fluff (or creme) – For that gooey, sticky s’mores center.
- Melted milk chocolate chips – Adds sweetness and that perfect chocolate drizzle.
- Warm peanut butter – Drizzled or layered for even more nutty goodness.
Creative Variations:
Want to customize your cookies? Here are a few fun flavor swaps:
- Try using crunchy peanut butter to add more texture and a satisfying crunch to each bite.
- Swap milk chocolate for dark chocolate or white chocolate for a different flavor profile.
- Add a touch of ground cinnamon or cocoa powder to your cookie dough for a deeper, more complex taste.
- Use flavored marshmallow spreads like toasted coconut or vanilla bean to switch things up.
- Mix in mini marshmallows for a more rustic, homemade s’mores feel.
With just a few tweaks, you can create endless variations that still stick to the essence of a homemade sandwich cookie with that s’mores flair.
Step-by-Step Recipe Instructions
Getting these cookies right is all about technique. Follow this simple, foolproof method:
- Cream the base – In a large bowl, mix the peanut butter, softened butter, brown sugar, and granulated sugar until smooth and fluffy (about 2–3 minutes).
- Add the wet ingredients – Beat in the egg and vanilla extract. Mix until fully combined.
- Combine the dry ingredients – In a separate bowl, whisk together the flour, baking powder, and a pinch of salt. Then, gradually add the dry mixture to the wet ingredients, stirring gently until a soft, well-blended dough forms. Avoid overmixing to keep the cookies tender.
- Chill the dough – Cover the bowl and refrigerate the dough for 20 to 30 minutes. This step helps prevent the cookies from spreading too much while baking and enhances their texture, making them perfectly soft and chewy.
- Shape & bake – Scoop out 1-tablespoon portions of dough and roll them into smooth balls. Arrange them on a parchment-lined baking sheet, spacing them about 2 inches apart. Using a fork, gently press a crisscross pattern onto the top of each dough ball to flatten slightly and give them that classic peanut butter cookie look.
- Bake – Bake at 350°F (175°C) for 10–12 minutes, until edges are set but centers look slightly soft.
- Cool completely – Let cookies sit on the baking sheet for 5 minutes, then transfer to a cooling rack. Cool fully before assembling.

This method yields perfectly round, slightly crispy-on-the-outside, soft-on-the-inside cookies—the ideal base for any chewy peanut butter cookie sandwich.
Assembling the Cookies the Right Way
This is where the s’mores magic happens.
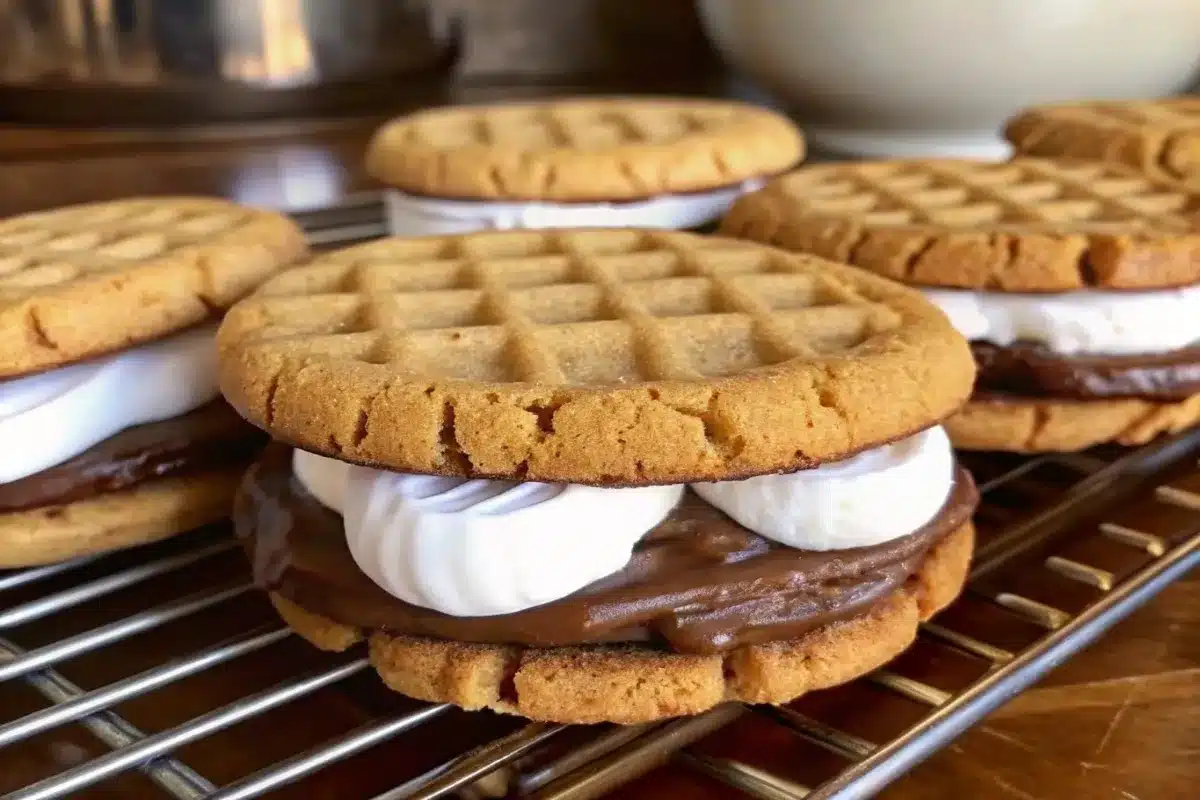
- Start with the fluff – Spread about 1 tablespoon of marshmallow fluff onto the flat side of one cookie.
- Drizzle or spread peanut butter – Warm it slightly in the microwave for easy drizzling. You want it soft, but not runny.
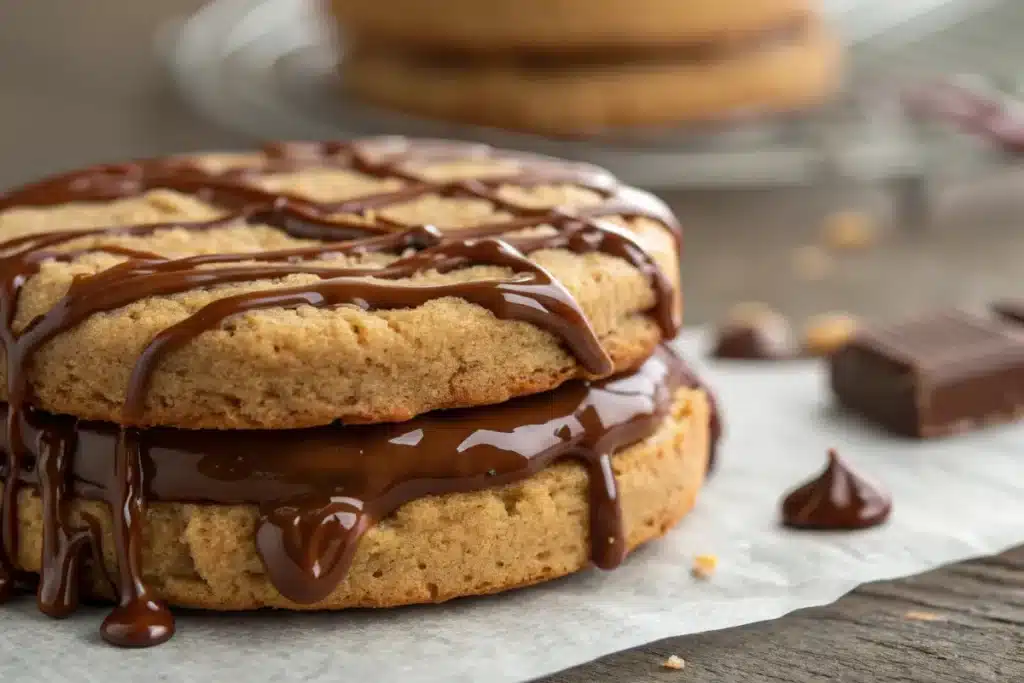
- Top with chocolate – Melt chocolate chips in 20-second intervals, stirring between each until smooth. Drizzle or layer it on.
- Create the sandwich – Gently press a second cookie on top. Let sit for a few minutes so the layers settle.
You now have a picture-perfect s’mores peanut butter sandwich cookie—ready to be devoured.
Optional finishing touch: dip one half in melted chocolate and top with graham cracker crumbs or flaky sea salt.
Storage, Freshness & Freezing Tips
These cookies are best enjoyed fresh, but they store and freeze beautifully:
- Room temperature – Keep the cookies in an airtight container at room temperature for up to 3 days to maintain freshness and softness.
- Refrigerator: Keeps cookies fresh for up to 7 days (best to bring to room temp before serving).
- Freezer:
- Unassembled cookies – Freeze the baked cookies in a single layer on a baking sheet until firm, then transfer them to a sealed container or freezer bag. They’ll stay fresh for up to 3 months.
- Assembled cookies: Wrap individually in parchment or wax paper and freeze up to 1 month.
Pro tip: freeze the cookies and fillings separately and assemble fresh for optimal texture.
Creative Uses and Variations for Any Occasion
Peanut butter s’mores sandwich cookies are perfect for:
- Holiday cookie trays – Add festive sprinkles or food coloring to match the season.
- Gift boxes – Wrap them in parchment with twine for a rustic, homemade feel.
- Bake sales – These standout cookies are crowd-pleasers and photograph well.
- Kids’ parties – Let the kids help assemble their own cookies with different fillings and toppings.
Want to go mini? Use a teaspoon of dough per cookie and assemble smaller sandwiches. Great for events or as a bite-sized snack.

Serving erving Ideas and Dessert Pairings
These cookies are rich and flavorful, and they pair wonderfully with:
- Cold milk or almond milk – The classic combo.
- Hot cocoa – A cozy pairing that’s ideal for winter nights or festive holiday celebrations.
- Milkshakes – Dunk your cookie right in!
- Iced coffee or espresso – Cut the sweetness with a bold coffee flavor.
- Peanut butter porter or chocolate stout – For a fun, grown-up dessert pairing.
Or turn them into an indulgent dessert sandwich by adding a scoop of vanilla ice cream in the center.
Common Baking Issues and How to Fix Them
Here are a few common problems and how to solve them:
- Cookies spread too much – Chill the dough longer or reduce the butter slightly.
- Too dry or hard – Try baking for less time or add an extra egg yolk next time.
- Fillings ooze out – Wait until the cookies are fully cool before assembling. You can also chill them for a few minutes after sandwiching.
- Chocolate clumps – Stir in a little coconut oil while melting for a smoother drizzle.
Making these cookies once or twice will help you fine-tune them to your kitchen and taste.
Tips from Readers and Creative Hacks
Our readers have shared tons of clever ideas and tweaks:
- “I swapped the fluff with marshmallow creme and toasted it slightly with a torch—crazy good!”
- “Swap in peanut butter chips instead of chocolate for an extra boost of nutty flavor.”
- “Used a kitchen scale to make each cookie the same size—made assembly way easier.”
You can also package these cookies individually for lunchbox treats or favors. They’re sturdy enough to hold their shape but soft enough to melt in your mouth.

Frequently Asked Questions (FAQs)
How do you make peanut butter s’mores sandwich cookies from scratch?
You bake peanut butter cookies, cool them, then fill with marshmallow fluff, melted chocolate, and warm peanut butter.
Can you use crunchy peanut butter for sandwich cookies?
Yes! It gives a nice contrast to the soft cookie texture and gooey filling.
What type of chocolate is best for peanut butter s’mores sandwich cookies?
Milk chocolate is classic, but you can use semi-sweet, dark, or even white chocolate based on your preference.
Can you freeze peanut butter s’mores sandwich cookies?
Absolutely. You can freeze the baked cookies before assembling, or freeze assembled cookies wrapped individually for up to a month.
How long do these cookies stay fresh?
3 days at room temp, up to 7 in the fridge, or 1 month in the freezer if stored properly.
What’s the best way to assemble them without making a mess?
Make sure the cookies are completely cooled. Use a small spatula or spoon for even spreading, and chill assembled cookies briefly to set the filling.
Final Thoughts
There’s nothing quite like a peanut butter s’mores sandwich cookie. They’re nostalgic, comforting, and just indulgent enough to feel like a real treat. These cookies are also versatile—customize the chocolate, try different nut butters, or go seasonal with sprinkles and shapes.
Whether you make them for your family, your coworkers, or just for yourself, they’re sure to bring smiles with every bite.
Ready to bake more sweet treats? Don’t miss:
Print
Peanut Butter S’mores Sandwich Cookies Recipe Everyone Will Love
- Total Time: 30 minutes
- Yield: 18 sandwich cookies 1x
Description
These peanut butter s’mores sandwich cookies are a gooey, indulgent twist on the classic summer treat—featuring chewy peanut butter cookies layered with marshmallow fluff, melted chocolate, and extra peanut butter.
Ingredients
For the Cookies:
1 ½ cups creamy peanut butter
½ cup unsalted butter, softened
½ cup granulated sugar
½ cup brown sugar, packed
1 large egg
1 tsp vanilla extract
1 ¼ cups all-purpose flour
¾ tsp baking powder
¼ tsp salt
For the Filling:
1 cup marshmallow fluff
¼ cup creamy peanut butter, warmed
½ cup milk chocolate chips, melted
Instructions
-
In a large bowl, cream together peanut butter, butter, and both sugars until smooth and fluffy.
-
Add egg and vanilla extract; mix until well combined.
-
In a separate bowl, whisk flour, baking powder, and salt. Gradually add to the wet ingredients, mixing until a soft dough forms.
-
Chill dough for 20–30 minutes for easier handling.
-
Preheat oven to 350°F (175°C). Line baking sheets with parchment paper.
-
Scoop 1-tablespoon balls of dough, place on baking sheet, and flatten gently with a fork.
-
Bake for 10–12 minutes, then let cool for 5 minutes on the pan before transferring to a wire rack.
-
Once cookies are completely cooled, spread marshmallow fluff on the flat side of one cookie.
-
Drizzle with melted peanut butter and chocolate. Top with a second cookie to create a sandwich.
-
Optional: drizzle with more chocolate or sprinkle with crushed graham crackers for garnish.
Notes
For crunchier texture, use crunchy peanut butter.
Let cookies cool fully before filling to avoid melting the fluff.
Store assembled cookies in an airtight container at room temperature for 3 days or freeze for up to 1 month.
- Prep Time: 35 minutes
- Cook Time: 10 minutes
- Category: Snacks
- Method: Baking
- Cuisine: American
Nutrition
- Serving Size: 1 sandwich cookie
- Calories: 312 kcal
- Sugar: 22g
- Sodium: 160mg
- Fat: 18g
- Saturated Fat: 6g
- Unsaturated Fat: 10g
- Trans Fat: 0g
- Carbohydrates: 34g
- Fiber: 2g
- Protein: 6g
- Cholesterol: 22 mg

