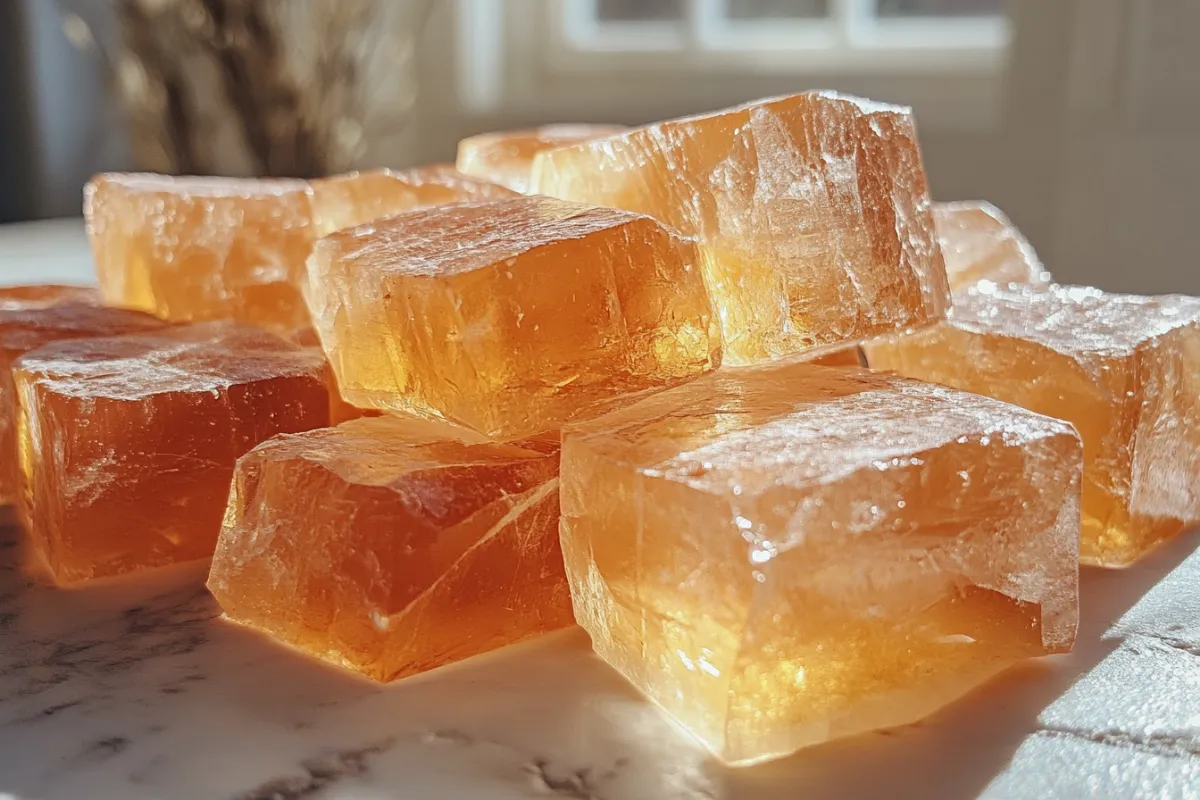
Rock Candy Recipe: A Sweet and Easy DIY Guide
Who doesn’t love the sweet, crystalline crunch of rock candy? Whether you’re making it as a fun science experiment, a homemade gift, or just a delicious treat, this rock candy recipe is simple, customizable, and perfect for all ages.
In this comprehensive guide, we’ll walk you through the step-by-step process of making rock candy at home, explore different flavors and colors, and share expert tips to ensure perfect results every time. Plus, we’ll cover the science behind sugar crystallization and answer common questions to help you master this classic confection.
By the end, you’ll have everything you need to create stunning, Instagram-worthy rock candy sticks or jars. Let’s get started!
What Is Rock Candy?
Rock candy recipe is a type of sugar crystal confection made by supersaturating water with sugar and allowing it to crystallize over time. The result is beautiful, edible crystals that form on a stick or string.
This rock candy recipe has been enjoyed for centuries, dating back to ancient India and Persia. Today, it remains a popular DIY project because it’s easy, educational, and endlessly customizable with flavors and colors.
The History of Rock Candy: From Ancient Treat to Modern DIY
Rock candy has a surprisingly rich history. Ancient Persians and Indians first discovered sugar crystallization over 2,000 years ago, using it both as medicine and as a sweet delicacy. By the Middle Ages, rock candy became a luxury item in Europe, prized for its purity and sweetness.
Today, making rock candy at home is a fun way to connect with this ancient tradition while learning about science and creativity.
Why Make Your Own Rock Candy?
Before diving into the rock candy recipe, let’s look at why making it at home is a great idea:
✅ Fun & Educational – A great STEM activity for kids to learn about crystallization.
✅ Customizable – Choose your favorite colors and flavors.
✅ Natural Ingredients – No artificial additives or preservatives.
✅ Perfect for Gifts – Beautiful and delicious homemade presents.
✅ Budget-Friendly – Requires only a few basic ingredients, like this simple 4-ingredient banana bread.
Rock Candy Recipe: Ingredients & Tools
Ingredients:
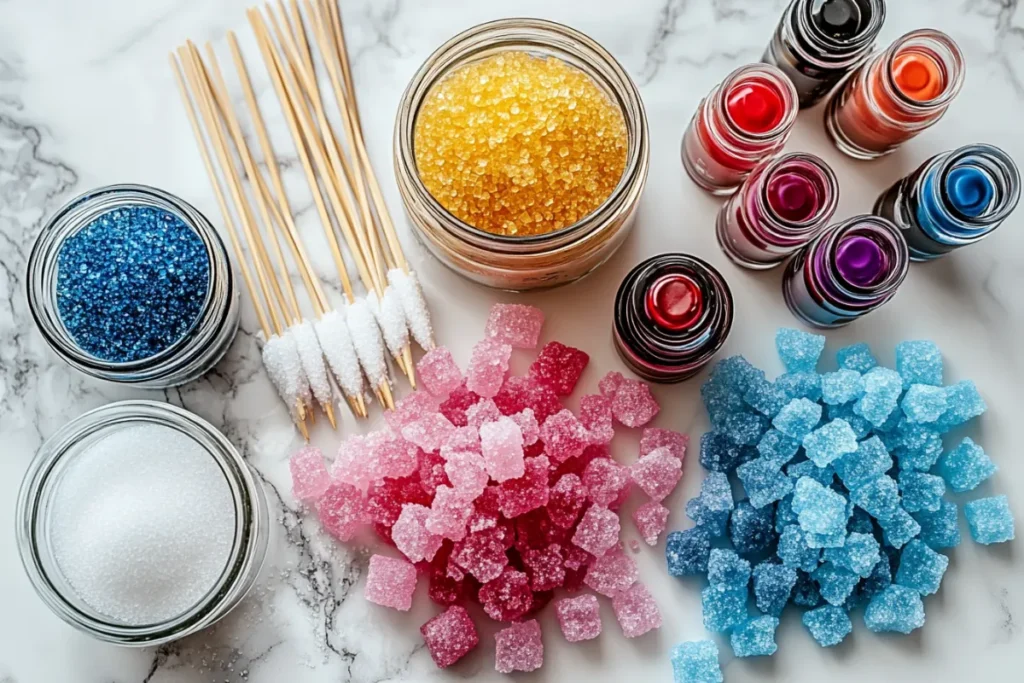
- 2 cups granulated sugar (plus extra for coating)
- 1 cup water (distilled works best)
- Food coloring (optional)
- Flavor extracts (optional – vanilla, peppermint, fruit, etc.)
Tools Needed:
- Glass jars or tall glasses
- Wooden skewers or cotton string
- Clothespins or pencils (to suspend sticks/string)
- Saucepan
- Measuring cups & spoons
Best Sugar Types for Rock Candy recipe: Does It Matter?
While white granulated sugar is the standard for clear, classic rock candy, you can experiment with other types:
- Brown sugar – Creates a caramel-like flavor and golden crystals.
- Organic cane sugar – Slightly less refined but works well.
- Powdered sugar – Not recommended (contains anti-caking agents).
For the best results, stick with pure white sugar for transparent, well-formed crystals.
Step-by-Step Rock Candy Recipe
Step 1: Prepare the Sugar Solution
- Heat the water in a saucepan until it’s warm but not boiling.
- Gradually add sugar, stirring continuously until fully dissolved.
- Keep adding sugar until no more can dissolve (supersaturation).
- Remove from heat and let cool for 10-15 minutes.
🔹 Pro Tip: If crystals form on the sides of the pan, gently wash them down with a wet brush to prevent premature crystallization.
Step 2: Prepare the Sticks or String
- For sticks: Wet skewers and roll them in sugar to create a “seed crystal” base.
- For string: Soak cotton string in the sugar solution, then coat with sugar.
Step 3: Add Color & Flavor (Optional)
- Stir in a few drops of food coloring if desired.
- Add ½ tsp of flavor extract (vanilla, strawberry, etc.).
Step 4: Assemble & Wait for Crystals to Grow
- Pour the syrup into clean jars.
- Suspend the sticks/string using clothespins so they don’t touch the sides.
- Cover with a paper towel to keep dust out.
- Let sit undisturbed for 5-7 days.
🔹 Pro Tip: Store in a cool, dry place. The longer you wait, the bigger the crystals!
Step 5: Remove & Enjoy!
- Once crystals reach your desired size, carefully remove them.
- Let them dry on parchment paper for an hour.
- Enjoy your homemade rock candy!
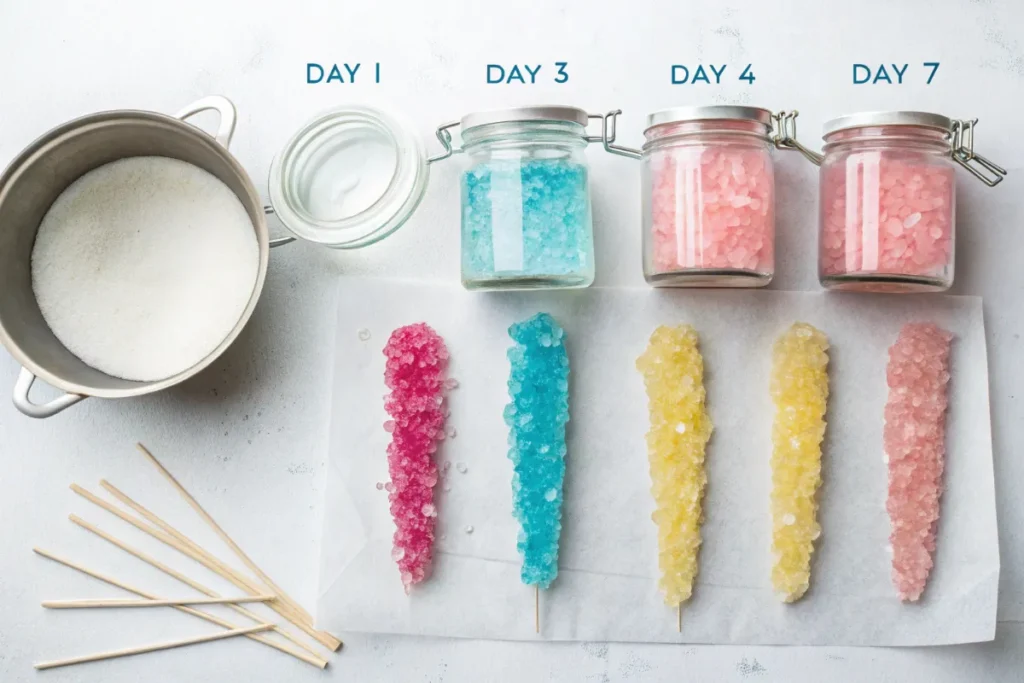
How to Speed Up Rock Candy recipe Growth (Without Ruining It!)
If you’re impatient, try these tricks for faster crystallization:
✔ Use a rougher string or stick (helps crystals form quicker).
✔ Keep the jar in a slightly warmer spot (but not too hot).
✔ Add a pinch of cream of tartar (helps stabilize crystal formation).
However, slower growth usually produces larger, clearer crystals.
Troubleshooting Common Issue
Issue: No crystals forming after several days
Solution:
- The sugar solution likely wasn’t supersaturated enough. Carefully reheat the liquid and add more sugar (about 1/4 cup at a time) until no more will dissolve.
- Make sure your string or stick has a proper sugar coating to serve as seed crystals.
- Keep jars away from cold drafts or temperature fluctuations.
Issue: Small or thin crystals
Solution:
- Maintain a consistent room temperature between 68-75°F (20-24°C).
- Avoid moving or disturbing the jars during the crystallization process.
- For clearer crystals, use distilled water instead of tap water.
Issue: Sticky or wet candy
Solution:
- Gently pat crystals dry with paper towels and allow to air-dry for 24 hours on a cooling rack.
- Store finished candy in an airtight container with a silica gel packet.
- For future batches: Let the sugar syrup cool slightly longer (15-20 minutes) before pouring into jars.
Rock Candy vs. Other Sugar Candies: What’s the Difference?
While rock candy is pure crystallized sugar, other candies like lollipops or fudge involve:
- Higher temperatures (hard crack stage vs. simple syrup).
- Added ingredients (butter, corn syrup, flavorings).
- Different textures (chewy, hard, or creamy).
Rock candy is unique because it forms naturally over time without extra additives.
9 Fun Flavor Ideas for Your Homemade Rock Candy
- Strawberry (use extract or crushed freeze-dried berries)
- Blue Raspberry (vibrant color + tart flavor)
- Lemon-Lime (citrus zest + yellow/green coloring)
- Cotton Candy Create pink & blue swirls using natural food dyes from kitchen ingredients
- Mint Chocolate (peppermint extract + cocoa powder coating)
- Bubblegum (fun for kids!)
- Cinnamon Spice (great for holiday gifts)
- Grape (deep purple hue)
- Root Beer (nostalgic soda flavor)
If you’re a fan of maple flavors, you can also experiment with adding maple extract to your rock candy for a rich, autumn-inspired treat. For another delicious way to enjoy maple, check out this easy maple cookies recipe !
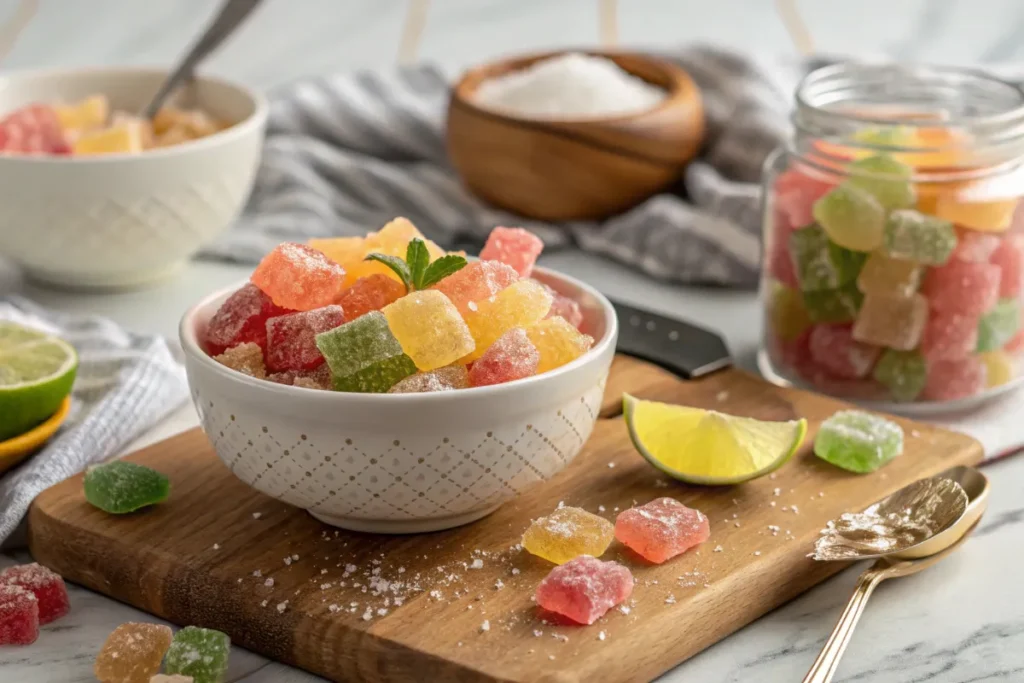
Rock Candy for Parties: Creative Display & Packaging Ideas
Make your homemade rock candy the highlight of any celebration with these family-friendly presentation ideas:
🎉 Color-Coordinated Jars
- Use clear mason jars with ribbon colors matching the party theme
- Decorate lids with stickers or paint for baby showers and birthdays
- Create layered rainbow jars by alternating colored crystal batches
🎉 Mini Gift Bags
- Package in small cellophane bags tied with colorful curling ribbon
- Add personalized tags like “Sweet Dreams” for slumber parties
- Use seasonal stickers (hearts, pumpkins, snowflakes) to match holidays
🎉 Sparkling Drink Garnishes
- Skewer medium crystals for fancy lemonade or mocktail stirrers
- Create “floating crystal” effects in punch bowls
- Make crystal-dipped straws by attaching small clusters to paper straws
🎉 Science-Themed Favors
- Present in plastic test tubes with “Science Lab Candy” labels
- Include fun experiment cards showing how crystals form
- Package with mini magnifying glasses for crystal inspection
FAQs About Making Rock Candy recipe
1. How long does it take to make rock candy recipe?
Rock candy typically takes 5–7 days to form large crystals. For faster results (3–4 days), use a rougher string or slightly warmer environment, but expect smaller crystals.
2. Can I use honey or brown sugar instead of white sugar?
White granulated sugar works best for clear, classic crystals. Brown sugar adds a caramel flavor but creates cloudy crystals, while honey isn’t recommended—it prevents proper crystallization.
3. Why didn’t my rock candy recipe form?
Common reasons include:
- Not enough sugar (solution wasn’t supersaturated).
- Jar was disturbed (crystals need stillness to grow).
- Humidity/temperature changes (keep in a stable environment).
4. How do I store rock candy to keep it fresh?
Store in an airtight container with a silica gel packet to prevent moisture. Avoid refrigeration (it can make candy sticky). Properly stored, it lasts up to a year.
5. Can I make rock candy without sticks or string?
Yes! Try:
- Sugar-coated toothpicks for mini crystals.
- A clean, sugared pipe cleaner for fun shapes.
- Layered colors in jars for crystal “geodes.”
6. Is rock candy safe for kids?
Yes, but supervise young children due to:
- Hot sugar syrup (let it cool before handling).
- Choking hazard (large crystals for toddlers).
- Food allergies (check flavoring ingredients).
7. Can I reuse the sugar syrup if crystals don’t form?
Absolutely! Reheat the syrup, add more sugar (1/4 cup at a time) until supersaturated again, and restart the process.
8. Why is my rock candy sticky or wet?
- High humidity (dry crystals in a low-humidity area).
- Not dried long enough (let sit 1–2 hours after removing).
- Sugar syrup residue (rinse gently under cool water and re-dry).
9. What’s the best way to add flavor?
Use oil-based candy flavorings (1/2 tsp per batch) or extracts (vanilla, almond). Avoid fresh fruit juices—they can spoil.
10. Can I make rock candy in shapes (like hearts or stars)?
Yes! Use:
- Silicone molds (pour syrup and suspend a string).
- Bent pipe cleaners (shape before crystallizing).
- Cookie cutters (place in a shallow dish of syrup).
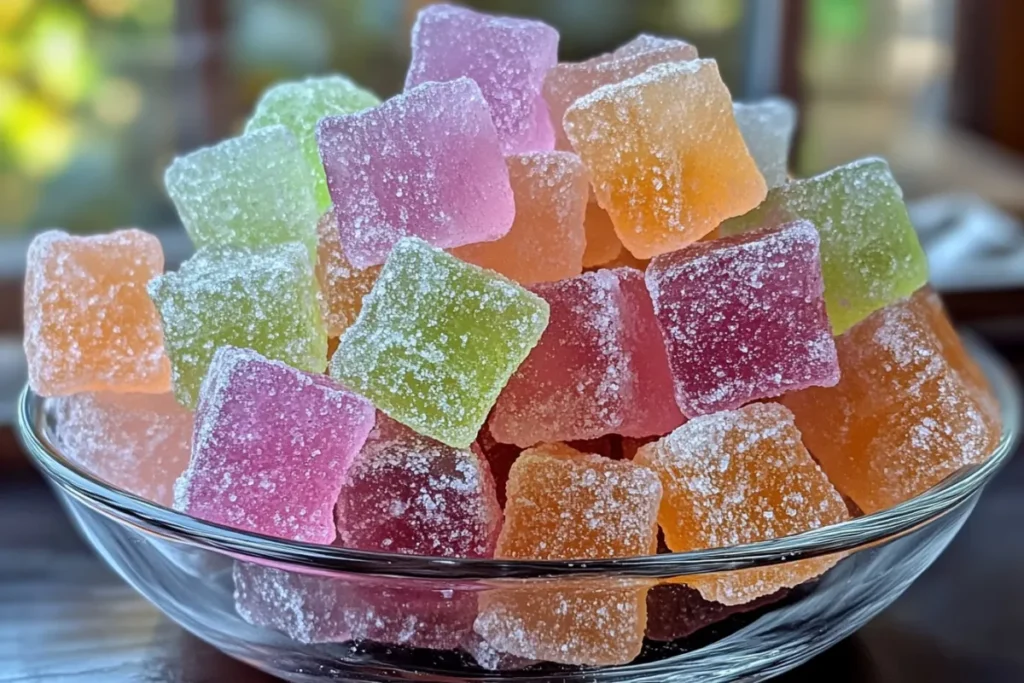
Final Thoughts
water, and a little patience, you’ll watch ordinary ingredients transform into glittering, edible crystals right before your eyes—like magic in your kitchen!
Whether you’re crafting a fun STEM project with kids, creating unique party favors (perfect alongside this decadent German chocolate poke cake, or simply satisfying your sweet tooth, this simple process yields stunning results. The best part? You can customize your candy with vibrant colors and flavors, making each batch uniquely yours.
So grab your ingredients and let the crystallization begin—your homemade rock candy masterpiece is just days away!
Print
Rock Candy Recipe
- Total Time: 7–10 days
- Yield: 4–6 rock candy sticks 1x
- Diet: Vegetarian
Description
Transform your kitchen into a magical candy lab with this homemade rock candy recipe! Perfect for science-loving kids and sweet-toothed adults alike, this simple yet fascinating process turns sugar and water into sparkling sugar crystals on a stick. It’s a fun, hands-on activity that doubles as a delicious treat or a thoughtful handmade gift.
Ingredients
- 2 cups granulated white sugar (plus extra for coating sticks)
- 1 cup water
- Food coloring (optional, for colorful candy)
- Flavoring extract (optional, such as vanilla, almond, or peppermint)
- Wooden skewers or popsicle sticks
- Clothespins or clips (to suspend sticks in the solution)
- A clean glass jar or container
Instructions
-
Prepare the Sticks:
Dip one end of each wooden skewer or stick into water, then roll it in granulated sugar to coat it evenly. This helps seed the crystal growth. Lay the sticks flat on parchment paper to dry completely—this step is crucial for ensuring the sugar adheres properly. -
Make the Sugar Syrup:
In a medium saucepan, combine 2 cups of sugar and 1 cup of water. Heat the mixture over medium heat, stirring gently until all the sugar dissolves. Once dissolved, stop stirring and bring the syrup to a boil. Use a candy thermometer to monitor the temperature; aim for 230°F (soft-ball stage). Avoid overheating, as this can affect crystal formation. -
Customize Your Candy:
Remove the syrup from heat and let it cool slightly. If desired, add a few drops of food coloring and/or ½ teaspoon of flavoring extract to give your rock candy a personalized touch. Stir gently to incorporate without creating bubbles. -
Set Up the Growing Station:
Pour the warm syrup into a clean glass jar. Insert a prepared stick into the jar, securing it with a clothespin or clip so it hangs vertically without touching the bottom or sides of the jar. Cover the jar loosely with plastic wrap or a paper towel to keep dust out while allowing airflow. -
Grow the Crystals:
Place the jar in a quiet, undisturbed spot at room temperature. Over the next 5–7 days, watch as sugar crystals form and grow along the submerged portion of the stick. Check daily to ensure no floating debris enters the jar. -
Harvest and Enjoy:
Once the crystals have reached your desired size, carefully remove the stick from the jar. Let the rock candy dry on a sheet of parchment paper for an hour before enjoying or packaging it as a gift.
Notes
- Rock candy is a slow-forming treat, so patience is key. Avoid moving or shaking the jar during the crystal-growing process to ensure the best results.
- If you notice sugar crystals forming on the sides of the jar instead of the stick, gently nudge them back into the syrup with a clean utensil to redirect growth.
- Prep Time: 15 minutes
- Cook Time: 10 minutes
- Category: Snacks
- Method: Boiling and crystallization
- Cuisine: American
Nutrition
- Serving Size: 1 rock candy stick
- Calories: ~120 kcal
- Sugar: ~30g
- Sodium: 0mg
- Fat: 0g
- Saturated Fat: 0g
- Unsaturated Fat: 0g
- Trans Fat: 0g
- Carbohydrates: ~30g
- Fiber: 0g
- Protein: 0g
- Cholesterol: 0mg

