Chocolate Peanut Butter Pie
Few desserts capture hearts (and taste buds) quite like Chocolate Peanut Butter Pie. This rich, creamy treat combines the salty-sweet harmony of peanut butter with decadent chocolate layers, making it a beloved classic for gatherings, holidays, or cozy nights in.
Peanut butter offers more than just indulgent flavor—it contains healthy fats, protein, and fiber, making it a satisfying ingredient when consumed in moderation, as explained in this Healthline article on peanut butter’s health effects.
In this guide, you’ll discover everything from the essential ingredients to creative twists, expert tips, and storage advice—perfect for home bakers aiming for flawless results every time.
Table of Contents
What is Chocolate Peanut Butter Pie?
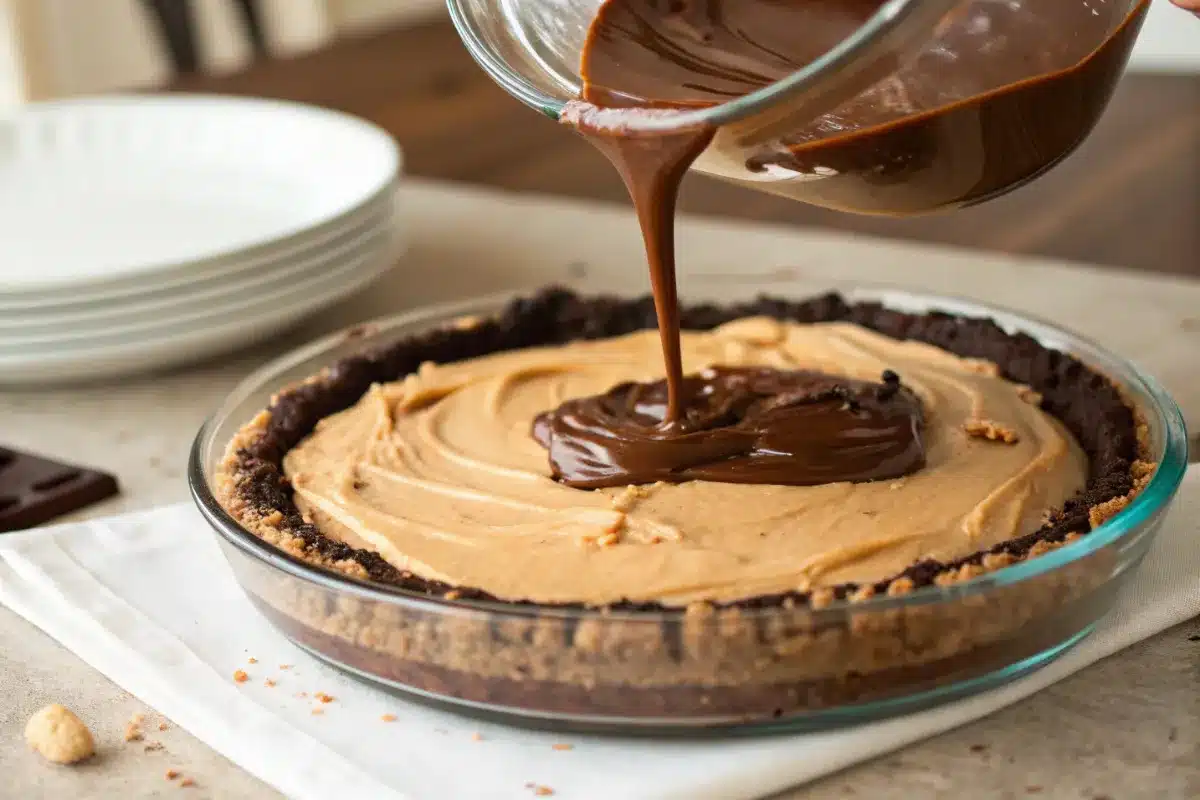
Chocolate Peanut Butter Pie is a no-bake or chilled dessert featuring a crunchy cookie crust, a luscious peanut butter cream filling, and a smooth chocolate topping. It perfectly combines creamy textures with a sweet and salty flavor balance that’s simply irresistible.
A Decadent Dessert Duo
Chocolate and peanut butter create a heavenly dessert pairing. The rich, nutty flavor of peanut butter perfectly enhances the deep, bittersweet taste of chocolate. This classic combination is timeless and widely adored, making the pie a favorite treat for any occasion.
Historical Origins
This pie likely evolved in American kitchens during the 20th century, combining pantry staples into an easy, crowd-pleasing dessert. Inspired by the popularity of peanut butter cups and layered desserts, home bakers began to create no-bake pies that offered both simplicity and decadence.
Popularity in Modern Cuisine
Today, Chocolate Peanut Butter Pie is a beloved classic found in family cookbooks and upscale menus alike, cherished for its nostalgic and indulgent flavors. Food bloggers, bakers, and culinary influencers often share creative twists on this dessert across social media, boosting its widespread popularity even more.
Essential Ingredients and Tools
Understanding the key components ensures your pie turns out perfect every time. Choosing high-quality ingredients and using the right tools can make a noticeable difference in taste and texture.
Key Ingredients
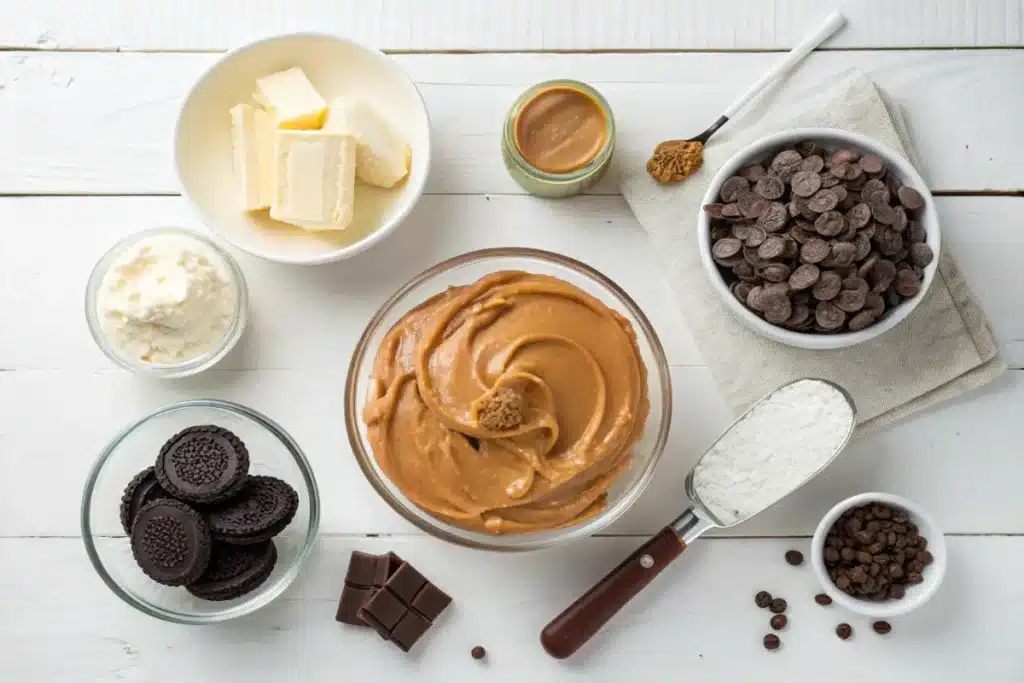
| Ingredient | Purpose |
|---|---|
| Creamy Peanut Butter | Main flavor base |
| Cream Cheese | Adds richness and structure |
| Powdered Sugar | Sweetens and smooths the filling |
| Whipped Topping | Lightens the texture |
| Oreo Crust | Provides a chocolaty, crunchy base |
| Chocolate Chips | Melted for ganache or drizzle topping |
Recommended Tools
- 9-inch pie pan
- Electric mixer (handheld or stand)
- Rubber spatula
- Mixing bowls
- Microwave-safe bowl (for chocolate)
- Offset spatula for even spreading
- Silicone pie cover (for storage)
Ingredient Substitutions
- Use almond butter for a nutty twist.
- Substitute gluten-free cookies for the crust.
- Choose dairy-free cream cheese and whipped topping to make a vegan-friendly version.
- Use coconut sugar or stevia as a low-glycemic sweetener alternative.
Love the chocolate-peanut butter combo? Don’t miss these gooey Reese’s Peanut Butter Chocolate Chip Cookie Bites for a bite-sized twist on the classic flavor pairing.
Step-by-Step Chocolate Peanut Butter Pie Recipe
This pie comes together easily in under 30 minutes, plus chilling time. Its no-bake nature makes it perfect for beginners and experienced bakers alike.
Preparing the Crust
- Crush 24 Oreo cookies, including the filling, into fine crumbs.
- Combine the crumbs with 5 tablespoons of melted butter until the mixture is well blended.
- Press firmly into a 9-inch pie dish, ensuring even distribution on the base and sides.
- Refrigerate the crust for 15 minutes while you prepare the filling to help it firm up.
Making the Filling
- Beat 1 cup creamy peanut butter and 8 oz cream cheese in a large mixing bowl until smooth and fluffy.
- Slowly add 1 cup of powdered sugar while continuing to beat until fully blended.
- Gently fold in 8 oz of whipped topping with a rubber spatula, mixing carefully to keep the light and airy texture.
- Spread the mixture evenly into the chilled crust with an offset spatula for a smooth finish.
Assembling and Chilling
- Melt ¾ cup chocolate chips with 2 tbsp cream in the microwave in 30-second intervals, stirring until smooth.
- Drizzle or spread the ganache evenly over the top of the pie using a spoon or spatula.
- Refrigerate the pie for at least 4 hours or overnight to ensure it sets completely.
Optional: Sprinkle crushed peanuts, chocolate shavings, or a dusting of cocoa powder on top for added flair.
Variations and Customizations
Make your pie your own with these creative ideas. Customizing allows for flexibility based on dietary needs, taste preferences, or special occasions.
No-Bake Version
Skip the oven altogether:
- Use a store-bought cookie crust to save time.
- Assemble as directed and chill—no baking required!
- Add a layer of sliced bananas or strawberries under the filling for extra freshness.
Vegan and Gluten-Free Options
- Use coconut cream instead of whipped topping.
- Choose vegan cream cheese and chocolate.
- Opt for gluten-free cookies for the crust.
- Sweeten with maple syrup instead of powdered sugar for a natural alternative.
Mini and Frozen Pies
- Press crust into muffin tins lined with paper cups for bite-sized versions.
- Top with a single peanut butter cup for presentation.
- Freeze mini pies for at least 1 hour for a firm, ice cream-like texture. These are great for parties or potlucks.
Nutritional Benefits of Chocolate Peanut Butter Pie Ingredients
- Peanut butter is rich in heart-healthy monounsaturated fats, protein, and fiber, which help promote feelings of fullness and support muscle repair.
- Cream cheese contributes calcium and vitamin A, which support bone strength and immune health.
- Dark chocolate (when used) provides antioxidants that help protect your cells and boost overall wellness.
- Enjoying this pie in moderation, with quality ingredients, can fit into a balanced lifestyle without guilt.
Expert Tips for the Perfect Pie
These insider tips will elevate your dessert game. Whether you’re baking for a holiday or a simple weeknight treat, these techniques make a big difference.
Achieving the Ideal Texture
- Use room temperature cream cheese for easier mixing and a lump-free filling.
- Don’t overfold whipped topping—overmixing can deflate the airy structure and result in a denser pie.
- For a firmer pie, add an extra ¼ cup powdered sugar or freeze slightly before serving.
Enhancing Flavor Depth
- Add a pinch of sea salt to the crust for balance.
- Stir in a tablespoon of espresso powder or a dash of cinnamon to deepen the chocolate layer.
- Consider a layer of chocolate ganache under the filling for a surprise bite of richness.
Presentation and Garnishing
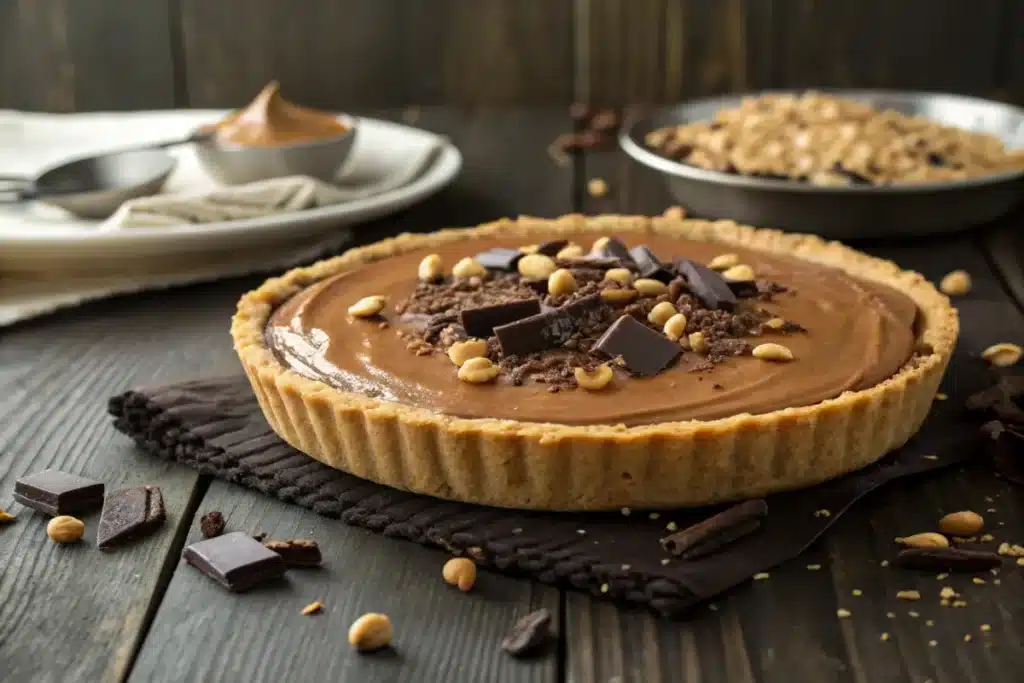
- Garnish with peanut butter cups, chocolate curls, chopped peanuts, or a drizzle of melted peanut butter.
- Use a hot knife (run under warm water and wiped dry) to slice clean, smooth portions.
- Serve on decorative dessert plates with fresh berries or a mint leaf for an elegant touch.
Serving and Storage Guidelines
Maximize freshness and flavor with these practical tips. Proper storage ensures your efforts aren’t wasted and makes the pie a convenient make-ahead option.
Serving Suggestions
- Serve chilled directly from the fridge for best texture.
- Top with a generous dollop of whipped cream or a scoop of vanilla ice cream to make it even more indulgent.
- Pair with hot coffee, espresso, or cold milk for the perfect dessert experience.
Want to shake things up? Add a drizzle of caramel or a pretzel crust for extra crunch.
If you enjoy creamy desserts with a hint of indulgence, this Best Churro Cheesecake Recipe makes the perfect companion to your pie-making repertoire.
Storage and Shelf Life
- Refrigerate for up to 5 days in an airtight container or covered with plastic wrap.
- Freeze for up to 2 months. Wrap tightly in plastic wrap and aluminum foil. Thaw overnight in the fridge before serving.
- Do not use the microwave to thaw, as it can change the pie’s texture.
Frequently Asked Questions (FAQs)
Can I use natural peanut butter?
Yes, but stir thoroughly to ensure a smooth, consistent filling. Natural peanut butter may result in a softer set, so chilling is extra important.
How do I make the pie less sweet?
Reduce powdered sugar to ¾ cup, and use dark chocolate (60% cacao or higher) for the topping. You can also incorporate Greek yogurt in place of some cream cheese for tang.
Can I prepare this pie in advance?
Absolutely. Prepare up to 2 days in advance and refrigerate until ready to serve. If planning for an event, make it the night before to let the flavors develop.
Can I freeze Chocolate Peanut Butter Pie?
Yes. Freeze the pie covered tightly for up to 2 months. Let it thaw in the fridge before serving. To slice easily from frozen, let it sit at room temperature for 10 minutes.
Conclusion
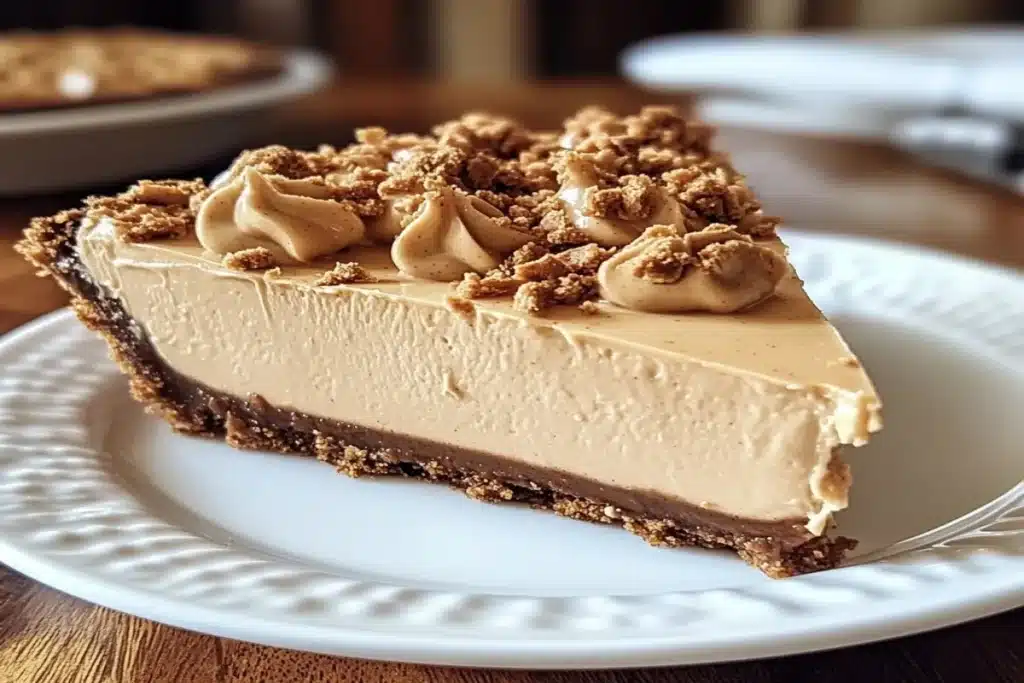
Chocolate Peanut Butter Pie is the perfect combination of comfort and indulgence, ideal for impressing guests or treating yourself. With endless customization options, foolproof steps, and creative garnishing ideas, it’s a must-have in your dessert rotation.
Whether you’re a beginner baker or a seasoned pro, this pie offers a reliable, rewarding dessert experience. Try the base recipe, explore new variations, and find your favorite twist.
Print
Chocolate Peanut Butter Pie
- Total Time: 25 minutes
- Yield: 8 servings 1x
- Diet: Vegetarian
Description
This No-Bake Peanut Butter & Cream Cheese Pie is a creamy, dreamy dessert made with just a few simple ingredients—perfect for potlucks, holidays, or whenever you need a rich, crowd-pleasing treat. Featuring a buttery Oreo crust, a smooth peanut butter and cream cheese filling, and a fluffy Cool Whip topping, it’s easy to make and even easier to enjoy. Best of all? No oven required!
Ingredients
For the Crust:
- 25 Oreo cookies (chocolate sandwich cookies)
- 5 tbsp unsalted butter, melted
For the Filling:
- 1 cup creamy peanut butter
- 8 oz cream cheese, softened
- 1¼ cups powdered sugar
- 8 oz Cool Whip (or non-dairy whipped topping)
Instructions
Place the Oreo cookies (whole) in a food processor and pulse until finely ground into crumbs. The white filling will naturally mix into the chocolate crumbs.
Transfer the crumbs to a mixing bowl and stir in the melted butter until evenly combined.
Press the mixture firmly into the bottom and up the sides of a 9-inch pie dish using the back of a spoon or measuring cup.
Preheat your oven to 350°F (175°C). Place the pie crust in the oven and bake for 5–7 minutes, just until set and lightly golden. Avoid over-baking to prevent burning.
Remove from the oven and let cool completely before adding the filling.
In a large mixing bowl, combine the peanut butter and softened cream cheese. Beat with an electric mixer on medium speed until smooth and creamy.
Add the powdered sugar gradually, mixing until fully incorporated and light and fluffy.
Gently fold in the Cool Whip by hand using a spatula. Mix until everything is well combined and has a smooth, airy texture.
Pour the filling into the cooled Oreo crust and spread evenly with a spatula.
Place the pie in the refrigerator and chill for at least 1 hour, but preferably 2–3 hours or overnight, to allow the flavors to meld and the filling to firm up.
Once chilled, slice and serve cold. Enjoy each creamy, peanut buttery bite!
Notes
Make-Ahead Friendly
Most no-bake desserts (like cheesecakes, pies, fudge, and fluff dips) can be made 1–2 days in advance.
Baked items like cakes, cookies, and breads often taste better after resting overnight.
Storage & Shelf Life
No-Bake Desserts: Store covered in the fridge for up to 3–5 days. Freeze slices for longer storage (up to 1 month).
Baked Goods: Store in airtight containers at room temperature for 2–4 days. Freeze for up to 2–3 months.
Cookies: Keep crisp by storing with a piece of bread (to absorb moisture) or freeze dough for fresh baking later.
Ingredient Substitutions
Dairy-Free Options:
Use vegan cream cheese, whipped topping, butter, and milk as needed.
Gluten-Free Options:
Substitute flour with gluten-free all-purpose flour (ensure it contains xanthan gum).
Use certified gluten-free graham crackers or cookies.
Low-Sugar Options:
Replace powdered sugar or granulated sugar with erythritol, monk fruit, or stevia (adjust sweetness to taste).
Texture Enhancements
Fold whipped cream into fillings slowly to maintain airiness.
Chill cookie dough before baking to prevent spreading.
Toast nuts or coconut for extra flavor depth.
- Prep Time: 15 minutes
- Cook Time: 10 minutes
- Category: Dessert
- Method: No-Bake
- Cuisine: American
Nutrition
- Serving Size: 1 slice
- Calories: 320kcal
- Sugar: 22g
- Sodium: 200mg
- Fat: 18g
- Saturated Fat: 7g
- Unsaturated Fat: 9g
- Trans Fat: 0g
- Carbohydrates: 34g
- Fiber: 1g
- Protein: 6g
- Cholesterol: 35mg
