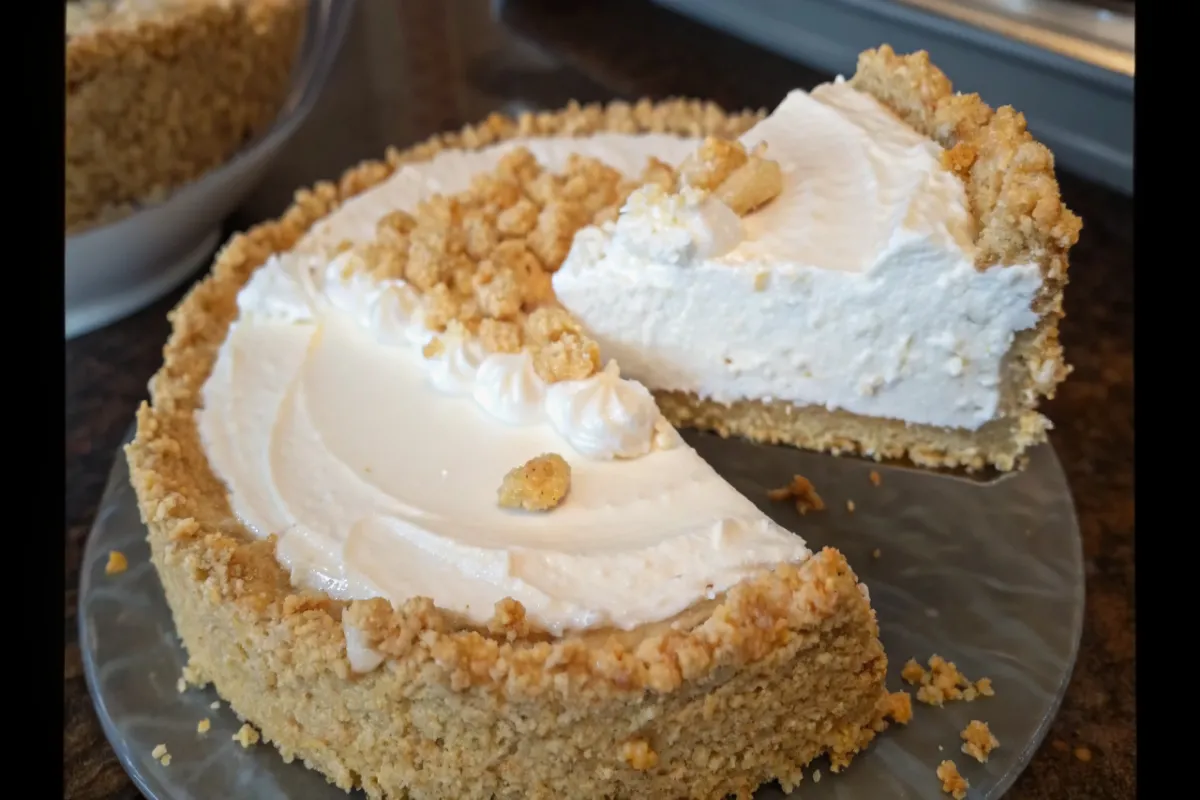
No-Bake Cheesecake Rice Krispy Treats
Looking for a no-bake dessert that combines nostalgic comfort with creamy indulgence? These No-Bake Cheesecake Rice Krispy Treats blend the gooey crunch of Rice Krispies with the luscious flavor of cheesecake—all without turning on the oven.
This easy dessert is perfect for summer gatherings, potlucks, or when you simply want a quick sweet treat that looks impressive and tastes even better. If you’ve ever struggled to decide between a Rice Krispy treat and a cheesecake square, this recipe solves that dilemma deliciously.
Moreover, because this recipe skips baking entirely, it’s a great go-to for busy days or kid-friendly projects. For safe and hygienic prep, follow FDA food safety guidelines.
Furthermore, this dessert doesn’t require any special tools, making it convenient for all skill levels. As a result, it’s an ideal choice when you’re aiming for delicious, stress-free preparation.
Table of Contents
Why You’ll Love No-Bake Cheesecake Rice Krispy Treats
This recipe delivers a delightful contrast of cheesecake filling and Rice Krispies crust that’s both satisfying and nostalgic. Even better, it comes together with minimal effort, making it an excellent dessert for all occasions.
Taste + Texture Combo in Rice Krispy Cheesecake Bars
- Crunchy, buttery base from classic Rice Krispies Treats
- Creamy, no-bake cheesecake topping
- Optional fruity or chocolaty enhancements
The combination is not only unique but also brings together textures that keep every bite interesting. Kids love the marshmallow gooeyness, while adults appreciate the cheesecake’s richness.
Additionally, the flavor layering creates a dessert that’s both familiar and surprising. This fusion makes it stand out among typical no-bake options. If you’re exploring creative mashups, No-Bake Cheesecake Rice Krispy Treats should be at the top of your list.
If you love layered mashups, don’t miss this indulgent churro cheesecake mashup dessert for even more sweet inspiration
Quick and Easy No-Bake Krispy Cheesecake Squares
- No baking, no cooking skills required
- Total active prep time: under 30 minutes
- Chill time allows hands-off finishing
You don’t need a mixer or any special tools. This treat comes together using just bowls, a spatula, and a pan, making it ultra beginner-friendly. It’s a smart pick for those last-minute dessert emergencies.
Consequently, it’s a fantastic choice when you’re tight on time but still want to impress. Moreover, since the steps are so simple, it’s also a fun activity to share with children or beginner bakers.
For another simple, no-fuss treat, try this easy 3-ingredient biscuit recipe that’s perfect for quick baking wins.
Versatile No-Bake Cheesecake Rice Krispy Bites for Any Occasion
- Great for birthday parties and holiday spreads
- Easily adjustable for flavors and dietary needs
- Portable and mess-free for events or gifts
Whether you want to create individual mini versions for a picnic or a full tray for a bake sale, this dessert scales beautifully. You can even shape them with cookie cutters for themed parties.
In addition, you can color the base or topping to match seasonal or themed events. The recipe easily transforms from casual snack to elegant party treat. The adaptability of No-Bake Cheesecake Rice Krispy Treats is a huge plus for creative home bakers.
Ingredient Breakdown for Rice Krispy Cheesecake Bars
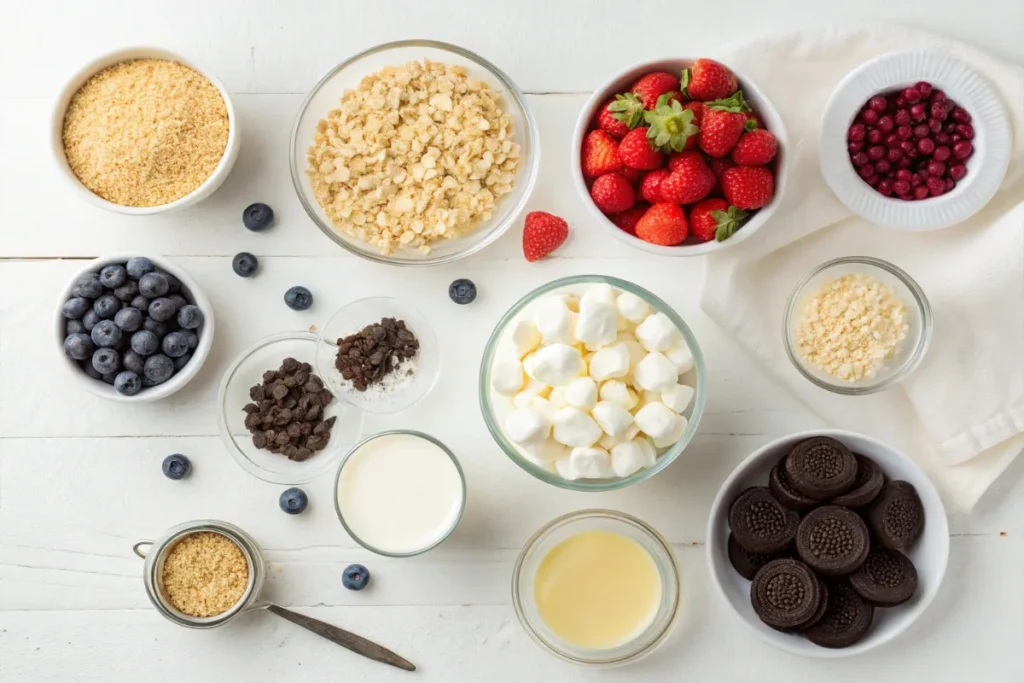
Here’s everything you need to make these layered treats.
| Layer | Ingredients |
|---|---|
| Rice Krispy Base | 3 tbsp butter, 4 cups mini marshmallows, 6 cups Rice Krispies cereal |
| Cheesecake Layer | 8 oz cream cheese, 1/2 cup sugar, 1 tsp vanilla, 1 cup marshmallow fluff, 2 cups whipped topping |
| Optional Toppings | Fresh berries, crushed Oreos, mini chocolate chips, caramel drizzle |
Rice Krispy Base Essentials for Cheesecake Squares
- Butter: Salted or unsalted for richness
- Mini Marshmallows: Help bind the cereal and add sweetness
- Rice Krispies Cereal: Provides the iconic crunch
The trick to a perfect base is melting the butter and marshmallows slowly and stirring constantly. This ensures even distribution and prevents scorching.
As a result, your base will remain chewy, not rock-hard. Moreover, using fresh marshmallows instead of stale ones can make a significant difference in consistency.
No-Bake Cheesecake Filling for Krispy Treats
- Cream Cheese: Softened for easy blending
- Sugar + Vanilla: Sweetens and flavors the mixture
- Marshmallow Fluff: Adds fluffiness without gelatin
- Whipped Topping: Lightens the filling and sets the structure
Room temperature cream cheese makes the blending smoother and eliminates lumps. Using a hand mixer here can elevate the texture to cloud-like perfection.
In contrast, cold cream cheese can create a grainy texture. Additionally, incorporating the whipped topping slowly ensures the filling stays light and airy.
Optional Add-Ons for Cheesecake Rice Krispy Bars
- Fresh fruits: Strawberries, blueberries, raspberries
- Toppings: Caramel, chocolate sauce, sprinkles, or crushed cookies
Toppings not only add flavor but also enhance the visual appeal. If you’re serving guests, a vibrant berry garnish or a glossy drizzle can take presentation up a notch.
Furthermore, toppings can help customize each piece for different preferences.
Step-by-Step Instructions for No-Bake Cheesecake Krispy Treats
These steps break down the process into quick, manageable parts. Make sure you read through everything before starting to ensure a smooth experience.
1. Make the Rice Krispy Base
- In a large saucepan, melt 3 tablespoons of butter over medium heat.
- Add 4 cups of mini marshmallows and stir until completely melted.
- Remove from heat and quickly fold in 6 cups of Rice Krispies.
- Press mixture evenly into a greased 8×8-inch or springform pan.
- Set aside to cool completely.
Use a piece of parchment or wax paper to press the mixture down evenly without sticking to your hands. Let it cool for at least 15 minutes before adding the topping.
Additionally, make sure to work quickly as the mixture sets fast. Pressing it down while still warm ensures even thickness.
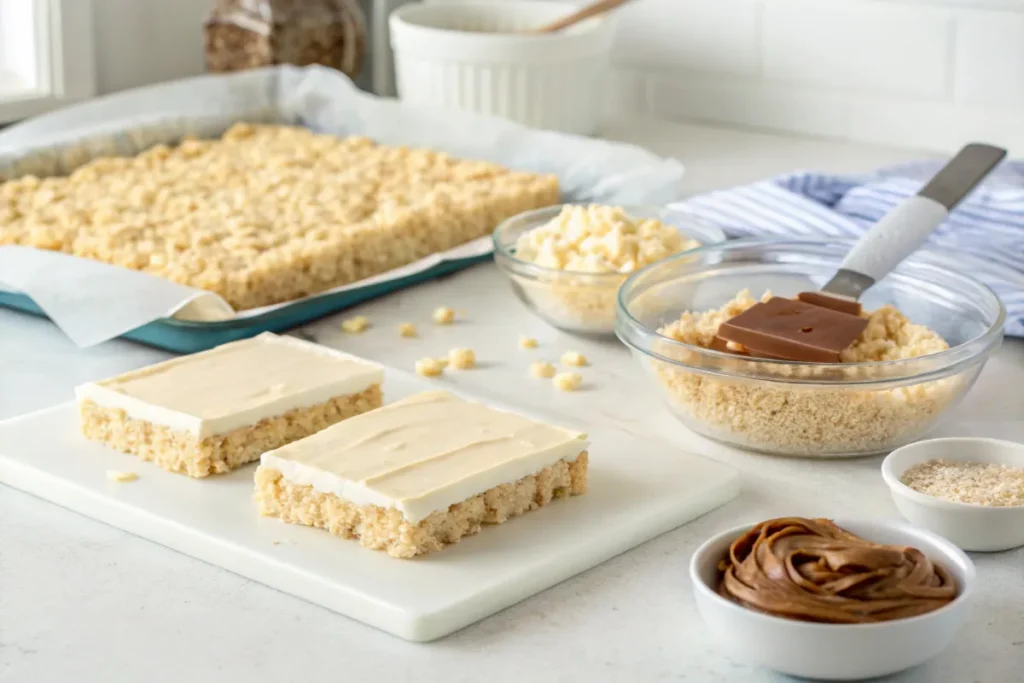
2. Mix the Cheesecake Layer
- In a large bowl, beat 8 oz of softened cream cheese until smooth.
- Add 1/2 cup sugar and 1 tsp vanilla extract; mix well.
- Gently fold in 1 cup marshmallow fluff.
- Finally, fold in 2 cups of whipped topping until smooth and airy.
If you prefer a tangier flavor, substitute part of the cream cheese with Greek yogurt. For a richer version, add a couple tablespoons of sweetened condensed milk.
Moreover, be gentle while folding to preserve the airiness. Overmixing can cause the filling to deflate.
3. Assemble and Chill Cheesecake Krispy Squares
- Spread cheesecake filling evenly over cooled Rice Krispy base.
- Add optional toppings like fresh fruit or drizzles.
- Refrigerate for at least 2 hours, or until firm.
- Slice and serve cold.
Letting the treat chill overnight helps the layers set completely and improves the flavor balance. Use a hot knife for the cleanest slices.
As an extra tip, chill the knife before slicing to reduce drag. That way, your layers stay crisp and distinct.
No-Bake Cheesecake Rice Krispy Treats are more than just a sweet bite—they’re a crowd-pleaser and conversation starter rolled into one irresistible bar.
Flavor Variations + Creative Spins
Switch up your dessert to match the season or your cravings.
Fruity Cheesecake Layers
- Mix in strawberry preserves for a swirl effect
- Layer blueberry compote before the cheesecake
- Add lemon zest for citrus zing
These fruit additions brighten up the flavor and create beautiful marbled patterns. You can also mix freeze-dried fruits into the base for texture.
In turn, these tweaks make the treat even more customizable.
Chocolate-Inspired Versions
- Use Cocoa Krispies for the base
- Add chocolate chips to the cheesecake layer
- Drizzle melted Nutella on top
These additions make the treat feel richer and more decadent. Add a pinch of espresso powder to the cheesecake layer for mocha flair.
Thus, chocolate lovers will find this version irresistible.
Kid-Friendly or Seasonal Twists
- Add rainbow sprinkles
- Crushed peppermint during holidays
- Swap base with Fruity Pebbles for a colorful look
Kids love themed desserts, and these changes make them adaptable for birthdays, Halloween, or Christmas.
As a bonus, they’re easy to decorate with kids.
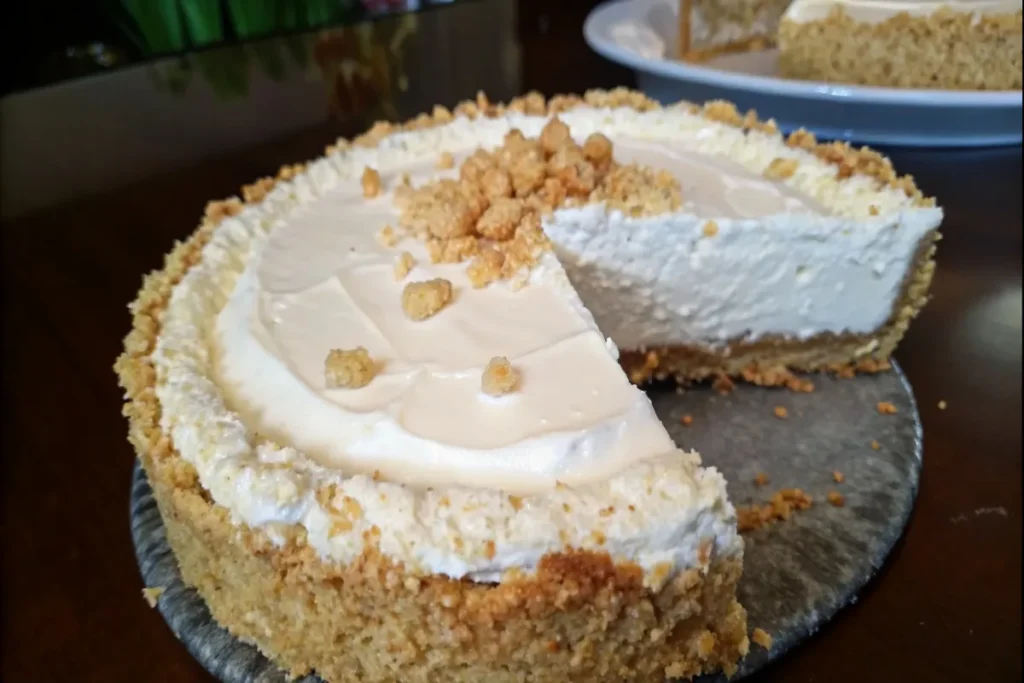
Dietary and Ingredient Swaps
Modify to meet dietary restrictions or preferences.
Gluten-Free or Dairy-Free?
- Use gluten-free certified Rice Krispies
- Substitute with vegan cream cheese and whipped topping
There are many plant-based options available now that don’t compromise on taste. Look for coconut-based whipped toppings and almond-based cream cheese.
Consequently, this treat becomes accessible to more people.
Low-Sugar or Keto-Friendly Ideas
- Replace sugar with monk fruit or erythritol
- Use keto marshmallows and almond flour crust
The almond crust offers a buttery texture and mild nuttiness that complements the cheesecake layer nicely. This is ideal for anyone watching carbs.
Not to mention, these versions can still taste indulgent.
Allergy-Friendly Options
- Choose nut-free, dye-free toppings
- Use seed butter-based marshmallow fluff alternatives
Always read labels carefully if you’re preparing for someone with allergies. Many brands now indicate if they’re produced in nut-free facilities.
Additionally, allergy-friendly ingredients can be found in most grocery stores today.
Storage, Shelf-Life, and Serving Tips
Keep your treats tasting fresh and looking great.
How to Store Leftovers
- Refrigerate in an airtight container
- Best consumed within 3–4 days
Place parchment between layers if stacking to avoid sticking. For longer freshness, store in the back of the fridge where temperature is more stable.
As a result, the texture remains ideal.
Can You Freeze These?
- Not recommended: freezing alters the texture
Freezing can make the Rice Krispy base soggy. If you must freeze, wrap tightly and thaw in the fridge—not at room temp.
In emergencies, it’s doable—but expect some changes in texture.
How to Slice Perfectly
- Use a sharp knife dipped in warm water
- Wipe blade between cuts for clean slices
A bench scraper also works well for cutting even portions if you plan to package them for gifts or bake sales.
On that note, pre-scoring before chilling can also help.
FAQs About No-Bake Cheesecake Rice Krispy Treats
Can I make these ahead of time?
Yes, you can prepare them 1–2 days in advance. Store them in the fridge, covered, until ready to serve.
Can I freeze them?
Absolutely. Freeze in a single layer, then transfer to a container with parchment between layers. Thaw in the fridge before serving.
Can I use homemade whipped cream instead of whipped topping?
Yes, just make sure it’s stabilized (add a bit of gelatin or cornstarch) to maintain the structure.
How do I keep the base from getting soggy?
Let the Rice Krispy layer cool completely before adding the cheesecake topping. Also, avoid juicy toppings until just before serving.
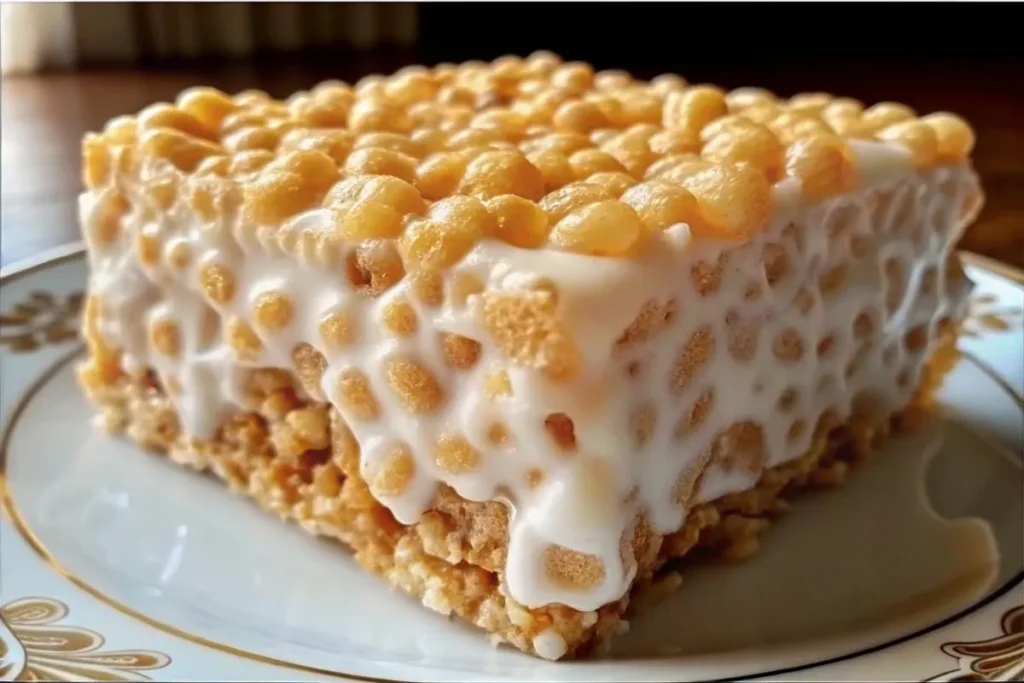
Final Thoughts on No-Bake Cheesecake Rice Krispy Treats
No-Bake Cheesecake Rice Krispy Treats offer the perfect combination of simplicity, flavor, and texture. With endless ways to customize and zero baking required, they’re ideal for both beginners and seasoned bakers. Whether for a party or a personal treat, these bars hit the sweet spot—literally.
Have you tried this recipe? Share your experience in the comments or pin it for later. For more easy dessert mashups and snack ideas, check out this Taco Bell Nacho Fries recipe—a fun and flavorful twist on a fast food favorite.
Print
No-Bake Cheesecake Rice Krispy Treats
- Total Time: 1 hour 20 minutes (including chilling)
- Yield: 12–16 squares 1x
- Diet: Vegetarian
Description
A dreamy twist on a classic favorite, these No-Bake Cheesecake Rice Krispy Treats combine the creamy richness of cheesecake with the sweet, gooey texture of traditional rice krispies. No oven required, and ready in minutes—perfect for parties, kids, or satisfying your dessert cravings fast!
Ingredients
- 3 tbsp unsalted butter
- 10 oz marshmallows (about 4 cups mini marshmallows)
- 8 oz cream cheese, softened
- 1/4 cup powdered sugar
- 1 tsp vanilla extract
- 1/4 tsp almond extract (optional, for depth)
- 6 cups rice krispies cereal
- Optional topping: whipped cream, sprinkles, or crushed graham crackers
Instructions
-
Melt the Butter and Marshmallows:
In a large saucepan over low heat, melt the butter. Add the marshmallows and stir continuously until completely smooth and melted. -
Blend the Cheesecake Mixture:
While the marshmallows melt, in a separate bowl, beat the softened cream cheese, powdered sugar, vanilla extract, and almond extract (if using) until smooth and well combined. -
Combine Wet Ingredients:
Add the cheesecake mixture into the saucepan with the melted marshmallows. Stir thoroughly until fully incorporated and the mixture is glossy and uniform. -
Add the Cereal:
Remove from heat and gently fold in the rice krispies cereal until evenly coated. Work quickly before the mixture starts to set. -
Press into Pan:
Transfer the mixture into a parchment-lined 8×8-inch baking pan. Use a spatula or lightly greased hands to press it down evenly into a compact layer. -
Chill Until Set:
Refrigerate for at least 1 hour or until firm. Once set, cut into squares and serve chilled. -
Optional Garnish:
Before chilling, top with a dollop of whipped cream, a sprinkle of sprinkles, or crushed graham crackers for extra flair.
Notes
Use Fresh Marshmallows
Old or stale marshmallows may not melt smoothly, leading to a lumpy texture. For best results, use fresh mini marshmallows and stir constantly while melting.
Soften the Cream Cheese Fully
Make sure your cream cheese is at room temperature before mixing. This helps it blend easily with the powdered sugar and melted marshmallows, avoiding clumps in the mixture.
Work Quickly When Adding Cereal
Once you mix in the rice krispies, the marshmallow mixture starts to set fast. Have your cereal ready and fold it in quickly to ensure even coating before it hardens.
Line Your Pan for Easy Removal
Always line your baking dish with parchment paper or lightly grease it with butter or non-stick spray. This makes it much easier to lift out the treats and cut them cleanly after chilling.
- Prep Time: 15 minutes
- Cook Time: 5–7 minutes
- Category: Snacks
- Method: No-bake
- Cuisine: American
Nutrition
- Serving Size: 1 square
- Calories: 220 kcal
- Sugar: 18g
- Sodium: 100mg
- Fat: 9g
- Saturated Fat: 5g
- Unsaturated Fat: 3g
- Trans Fat: 0g
- Carbohydrates: 30g
- Fiber: 0.5g
- Protein: 9g
- Cholesterol: 20mg
