3 Ingredient Biscuit Recipe (Easy, Fluffy & No Fail!) – Ultimate Guide
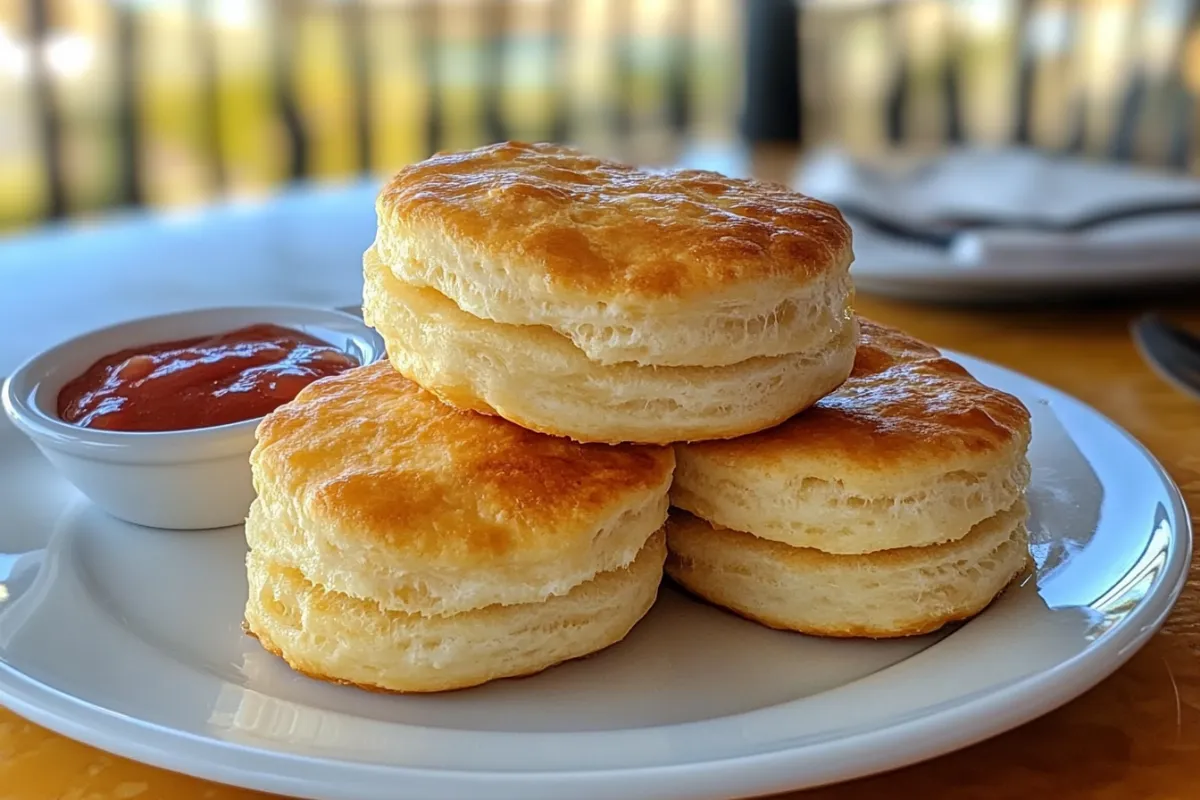
There’s something magical about the smell of freshly baked biscuits filling your kitchen. In today’s fast-paced world, finding time to bake from scratch can feel impossible, but this 3 ingredient biscuit recipe changes everything. With just three basic ingredients, you can create light, flaky, buttery biscuits that rival any bakery version – no complicated techniques or hard-to-find ingredients required!
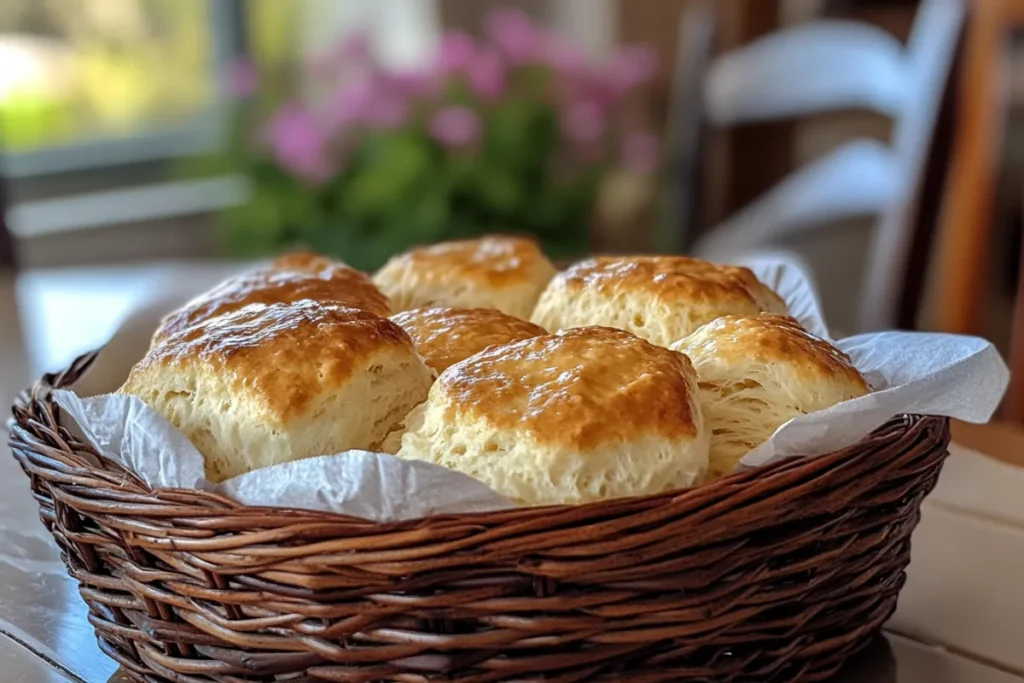
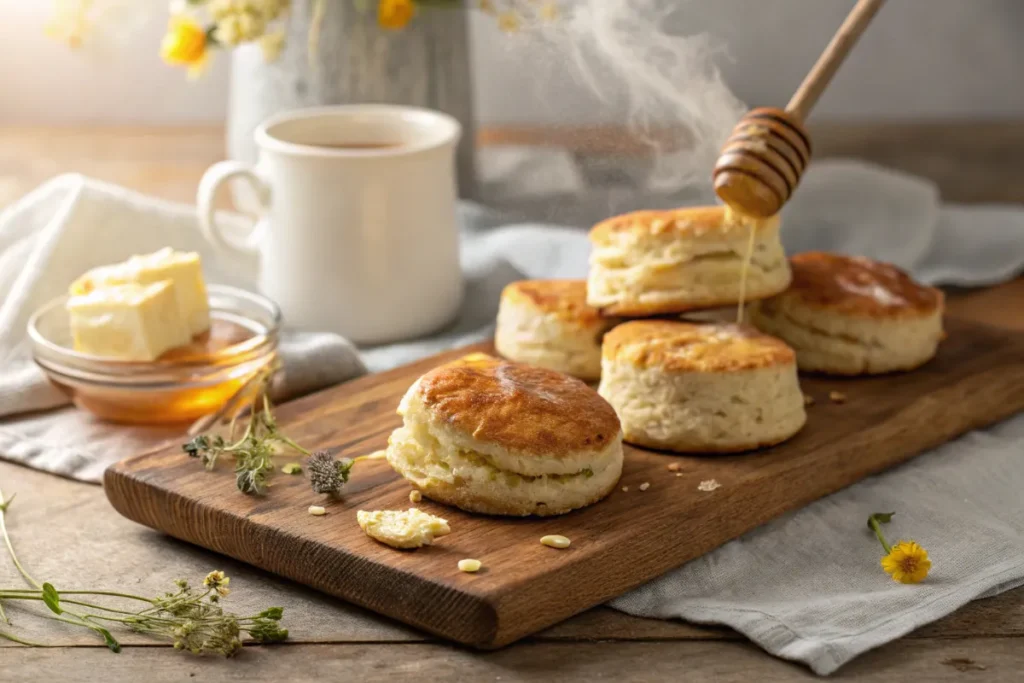
Imagine waking up to the aroma of golden-brown biscuits fresh from the oven, their steam rising as you pull them apart to reveal tender, layered interiors. Picture serving these warm delights alongside Sunday dinner, watching as your family reaches for seconds before the main course even arrives. Envision transforming simple ingredients into something extraordinary with minimal effort and maximum reward. That’s the power of this recipe.
This recipe has become a staple in kitchens across America, with home cooks and professional chefs alike praising its simplicity and reliability. Food bloggers have dubbed it “the little black dress of baking” – endlessly adaptable for any occasion. Cooking instructors use it to demonstrate fundamental techniques to beginners. Busy parents rely on it for last-minute breakfast solutions. The beauty lies in its versatility – equally at home on a holiday table as it is in a weekday lunchbox.
Why This 3 Ingredient Biscuit Recipe Works So Well
The Beauty of Simplicity
In an era where many recipes call for lengthy ingredient lists and complicated techniques, this 3 ingredient biscuit recipe stands out for its elegant simplicity. The magic lies in:
- Carefully selected ingredients that each serve multiple purposes
- Smart technique that maximizes flavor and texture
- Time-tested ratios that guarantee consistent results
The psychology behind simple recipes is fascinating. Studies show that people are more likely to attempt and master recipes with fewer ingredients. This phenomenon, known as “cognitive ease,” means our brains process simple instructions more favorably. That’s why this recipe has such high success rates – it removes barriers to entry while delivering professional-quality results.
Perfect for Various Dietary Needs
While not inherently gluten-free or vegan (we’ll cover adaptations later), this basic formula serves as an excellent starting point for numerous dietary adaptations. The simple ingredient list makes it easier to:
- Identify potential allergens
- Make substitutions when needed
- Control exactly what goes into your food
For those with dietary restrictions, the simplicity becomes even more valuable. Unlike complex recipes where substituting one ingredient might throw off the entire balance, this straightforward formula makes adaptation straightforward. A celiac patient can swap in gluten-free flour with confidence. Someone avoiding dairy can experiment with plant-based alternatives knowing there are fewer variables to consider.
Cost-Effective Baking
Compared to store-bought alternatives or more complex recipes, this version saves money by:
- Using pantry staples you likely already own
- Eliminating expensive specialty ingredients
- Reducing waste since the recipe is easy to scale up or down
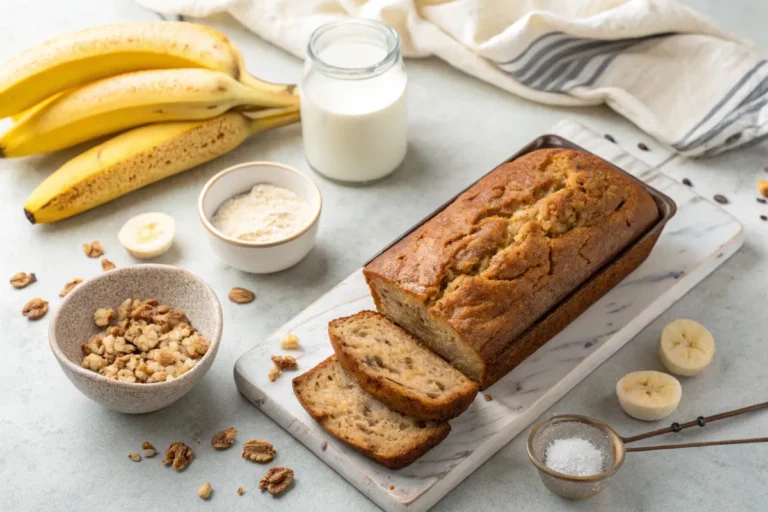
The psychology behind simple recipes is fascinating. Just like our 4-ingredient banana bread, this biscuit formula taps into what behavioral scientists call ‘the sweet spot of perceived competence’—challenging enough to feel rewarding, yet simple enough to feel achievable.
Historical Context: The Simple Biscuit Legacy
*”The magic of 3-ingredient biscuits isn’t just their ease—it’s their rich history. As detailed in King Arthur Baking’s comprehensive biscuit timeline, American biscuits evolved from survival food to cultural icon:
- 18th Century: English scones met Native American cornbread techniques
- 1850s: Baking powder revolutionized home baking
- 1930s: Self-rising flour made biscuits accessible to all
- Today: Minimalist recipes like this honor that tradition of practicality
This recipe carries forward the pioneer spirit—transforming pantry staples into something extraordinary.
The Science Behind Perfect 3 Ingredient Biscuit recipe
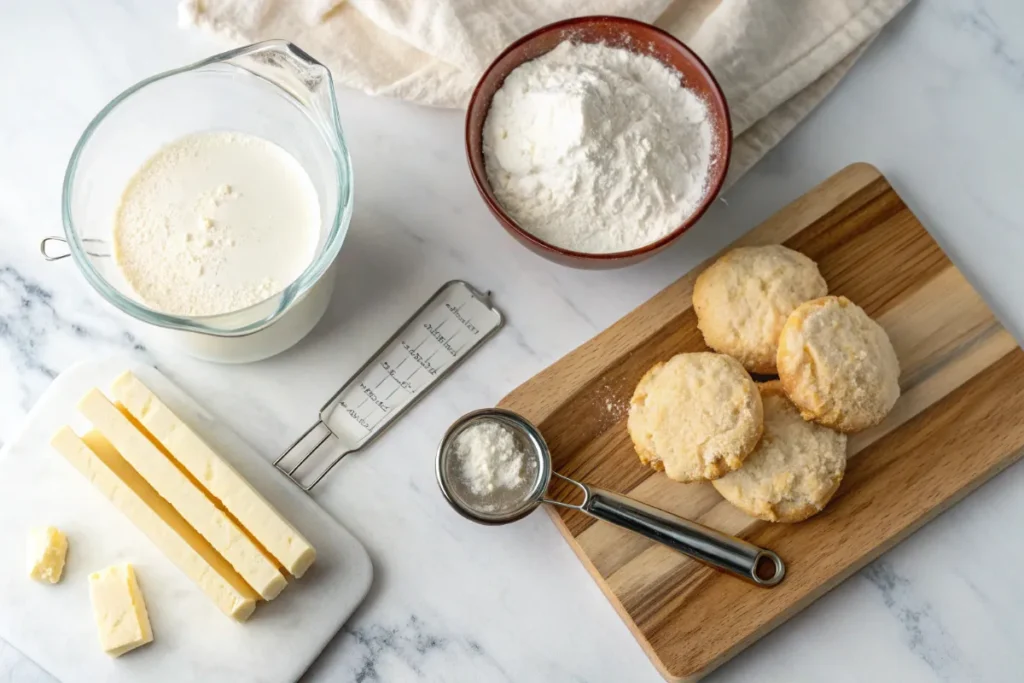
Understanding the Role of Each Ingredient
1. Self-Rising Flour: The Foundation
Self-rising flour is the backbone of this recipe, combining three essential components:
- All-purpose flour provides structure through gluten formation
- Baking powder acts as the leavening agent
- Salt enhances flavor and controls yeast activity
The chemistry at work here is fascinating. When moisture hits the baking powder in the flour, it creates carbon dioxide bubbles that make the biscuits rise. The gluten in the flour forms a network that traps these bubbles, creating the characteristic light texture. The salt not only enhances flavor but actually strengthens the gluten network, leading to better structure.
Pro Tip: For best results, check your flour’s expiration date. Baking powder loses potency over time, which can affect rise. To test your baking powder’s activity, mix 1 teaspoon with 1/3 cup hot water – it should bubble vigorously immediately.
2. Heavy Cream: The Moisture Miracle
Heavy cream (with at least 36% milk fat) serves multiple functions:
- Provides necessary liquid to hydrate the flour
- Adds richness from its high fat content
- Contributes to browning through its milk sugars
- Helps create a tender crumb by inhibiting gluten development
The fat in cream coats flour particles, limiting gluten development which would otherwise make biscuits tough. Meanwhile, the milk sugars caramelize during baking, creating that beautiful golden color and subtle sweetness. The water content turns to steam, providing additional lift. It’s this multi-functional role that makes cream superior to milk or buttermilk in this particular recipe.
3. Butter: The Flake Creator
Cold butter is the secret to those beautiful, flaky layers because:
- The water in butter turns to steam during baking, creating lift
- Solid fat coats flour particles, preventing gluten formation
- Melting butter leaves air pockets that become flaky layers
The temperature of your butter makes all the difference. At around 32°F (0°C), butter is firm enough to maintain distinct layers in the dough. As the biscuits bake, the butter melts at around 90°F (32°C), releasing its water content as steam between the layers. This steam pushes the layers apart, creating the flaky texture we love. If the butter starts too warm, it simply absorbs into the dough rather than creating these separate layers.
Step-by-Step Guide to Perfect 3-Ingredient Biscuits recipe
Preparation: Setting Yourself Up for Success
- Equipment Checklist:
- Large mixing bowl (preferably chilled)
- Pastry cutter or two forks
- Precise measuring cups (for flour, spoon and level)
- Heavy baking sheet (light colored for even browning)
- Parchment paper or silicone mat
- Sharp biscuit cutter (2.5-3 inches ideal)
- Kitchen scale (optional but recommended)
- Ingredient Prep:
- Measure all ingredients before starting (mise en place)
- Cut butter into small cubes (about ½-inch)
- Chill everything for 15 minutes if your kitchen is warm
- If using a scale: 240g flour, 240g cream, 56g butter
The Mixing Process: A Gentle Touch
- Combining Dry Ingredients:
- Sift 2 cups self-rising flour into your bowl
- Aerating the flour this way prevents dense biscuits
- Add cold butter cubes evenly distributed
- Cutting in the Butter:
- Use a pastry cutter to work butter into flour
- Alternative methods: Two knives, fingertips, or food processor
- Stop when mixture resembles coarse crumbs with some pea-sized butter pieces
- Temperature check: Butter should still feel cold
- Adding the Cream:
- Pour in 1 cup heavy cream gradually (about ¼ cup at a time)
- Mix with a fork just until dough comes together
- Watch for dry spots at bottom of bowl
- The dough should feel slightly sticky but manageable
Visual Cue: The dough should look shaggy, not smooth. If it forms a ball too easily, you’ve overmixed.
Shaping Techniques for Optimal Rise
- Turning Out the Dough:
- Lightly flour your work surface
- Use a bench scraper to gather dough
- Gently pat dough into a 1-inch thick rectangle
- Avoid using a rolling pin which can compress layers
- Folding for Layers (Optional but Recommended):
- Fold dough in half like a letter (tri-fold)
- Rotate 90 degrees and repeat
- This creates distinct layers for maximum flakiness
- Pat back to 1-inch thickness after final fold
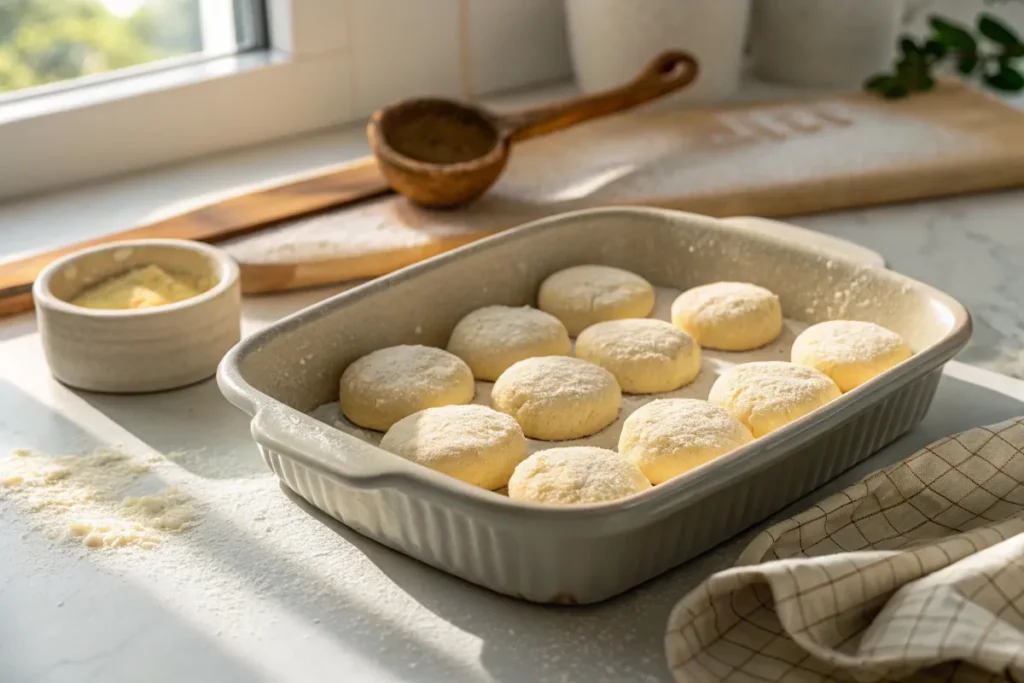
- Cutting the Biscuits:
- Dip cutter in flour to prevent sticking
- Use a sharp 2.5-inch biscuit cutter
- Press straight down without twisting
- Cut close together to minimize scraps
- Reroll scraps only once for best texture
Yield: About 8-10 biscuits depending on size. For taller biscuits, cut from dough patted to 1.5 inches.
Baking to Perfection
- Oven Setup:
- Position rack in center of oven
- Preheat thoroughly to 450°F (230°C)
- Use an oven thermometer to verify temperature
- Place empty baking sheet in oven during preheat
- Baking Process:
- Place biscuits close together on sheet for higher rise
- Optionally brush tops with cream before baking
- Bake 10-12 minutes until golden brown
- Rotate pan halfway for even browning
- Internal temperature should reach 200°F (93°C)
- Finishing Touches:
- Brush tops with melted butter immediately after baking
- Let cool 2 minutes before serving
- Serve warm for optimal texture and flavor
Troubleshooting Common Biscuit Issues
Problem: Biscuits Didn’t Rise Properly
Possible Causes & Solutions:
- Old baking powder – Check expiration date on flour
- Overworked dough – Handle more gently next time
- Butter too warm – Chill ingredients longer
- Oven temperature off – Use an oven thermometer
- Twisted cutter – Press straight down next time
- Over-floured surface – Use just enough to prevent sticking
Problem: Biscuits Are Too Dry
Moisture Solutions:
- Add 1-2 tbsp extra cream next time
- Reduce baking time by 1-2 minutes
- Brush with butter before and after baking
- Check oven temperature isn’t too high
- Measure flour carefully (spoon and level method)
- Don’t overbake – they continue cooking out of oven
Problem: Biscuits Spread Too Much
Structural Fixes:
- Chill shaped biscuits for 10 minutes before baking
- Increase oven temperature by 25°F
- Use less liquid in dough
- Ensure butter is very cold when mixing
- Try a different flour brand (protein content varies)
- Bake on preheated baking sheet
Creative Variations to Explore
Savory Twists
- Everything Bagel Biscuits
- Add 2 tbsp everything bagel seasoning to dough
- Brush with egg wash before baking
- Sprinkle with additional seasoning after baking
- Perfect for breakfast sandwiches
- Chicken Bacon Cheddar Drop Biscuits
- Mix in ½ cup cooked chicken bacon and ¾ cup shredded cheddar
- Use 1/4 cup less cream for drop biscuit consistency
- Scoop with ice cream scoop onto baking sheet
- Bake at 425°F for 12-15 minutes
Sweet Variations
- Cinnamon Sugar Biscuits
- Roll dough in cinnamon-sugar before baking
- Add 1 tbsp sugar to dry ingredients
- Drizzle with glaze after baking (1 cup powdered sugar + 2 tbsp milk)
- Excellent with coffee or tea
- Lemon Blueberry Biscuits
- Fold in 1 cup blueberries and 1 tbsp lemon zest
- Reduce cream by 2 tbsp to account for berry moisture
- Dust with powdered sugar after baking
- Serve with lemon curd or whipped cream
- Cake Mix Shortcut: Love easy baking hacks? Try our 3-ingredient cake mix cookies for another simple treat that pairs perfectly with coffee.
International Inspirations
- British-Style Scones
- Add ¼ cup sugar and ½ cup raisins
- Shape into a round and cut into wedges
- Brush with egg wash before baking
- Traditional with clotted cream and jam
- Italian Herb Biscuits
- Mix in 2 tbsp Italian seasoning
- Add 1/4 cup grated parmesan
- Brush with garlic butter after baking
- Perfect with pasta dishes
Best Dishes to Pair With Easy 3-Ingredient Biscuits
| Meal Type | Serving Suggestions | Prep Tip |
| Breakfast | Honey butter + berries Scrambled eggs + cheddar Yogurt + jam parfaits | Split warm biscuits for better topping absorption |
| Lunch/Dinner | Vegetable stew dippers Roasted chicken + gravy Creamy mushroom sauce | Brush biscuits with garlic butter for savory meals |
| Dessert | Macerated peaches + cream Chocolate hazelnut spread Cinnamon sugar dusting | Toast day-old biscuits for crunchier texture |
| Global Flavors | Curry scoopers Hummus/tzatziki dippers Parmesan-herb biscuits | Add 1 tsp spice blends to dough for flavor fusion |
These buttery biscuits shine alongside both simple and hearty mains. For a complete comfort meal, serve them with cheesy garlic chicken wraps – the creamy filling complements the biscuits’ flaky texture perfectly. Other winning combinations include:
- Hearty vegetable soups
- Creamy scrambled eggs
- Fresh summer salads
Nutritional Information & Dietary Adaptations
Basic Nutrition Facts (Per Biscuit)
- Calories: ~210
- Fat: 14g (8g saturated)
- Carbs: 18g (1g fiber, 1g sugar)
- Protein: 3g
- Sodium: 380mg
Gluten-Free Version
- Substitute with gluten-free self-rising flour blend
- Add ½ tsp xanthan gum per cup of flour
- May need 1-2 tbsp additional liquid
- Let dough rest 10 minutes before shaping
- Results will be slightly more dense but still delicious
Vegan Adaptation
- Use plant-based butter and coconut cream
- Add ½ tsp apple cider vinegar for lift
- May need to reduce liquid slightly
- Brush with melted vegan butter after baking
- Best served warm as they firm up when cool
Expert Tips from Professional Bakers
- Temperature is Key
“The colder your ingredients, the flakier your biscuits. I even chill my mixing bowl sometimes. For professional results, freeze your butter and grate it into the flour using a box grater.” – Sarah, Pastry Chef - The Fold Technique
“Three folds creates the perfect number of layers without overworking the dough. Think of it like folding a business letter – this creates those beautiful, distinct layers that separate when baked.” – James, Bakery Owner - Baking Surface Matters
“A cast iron skillet gives the best bottom crust. Preheat it in the oven before adding the biscuits – the intense heat creates incredible lift and a perfectly crisp bottom.” – Maria, Southern Cooking Expert - The Resting Secret
“Letting the shaped biscuits rest for 15 minutes before baking allows the gluten to relax and the flour to fully hydrate. This results in taller, more tender biscuits.” – David, Culinary Instructor - The Flour Factor
“Not all self-rising flours are created equal. I prefer White Lily for its lower protein content, which makes for more tender biscuits. If you can’t find it, use half cake flour and half all-purpose flour with baking powder added.” – Emily, Recipe Developer
Historical Context: The Evolution of Simple Biscuits
Biscuits have been a staple across cultures for centuries:
- Early American – Pioneers relied on simple ingredients that traveled well and didn’t require refrigeration. The addition of baking powder in the 1850s revolutionized biscuit-making, leading to the quick-rise versions we know today.
- British Influence – The British biscuit (what Americans call cookies) and scone traditions heavily influenced Southern baking. The term “biscuit” comes from the Latin “bis coctus” meaning “twice baked.”
- Modern Adaptations – As women entered the workforce in the mid-20th century, convenience products like self-rising flour became popular, leading to simpler recipes like this one.
This 3-ingredient version represents the perfect marriage of historical practicality and modern efficiency. It honors the tradition of simple, hearty baking while accommodating today’s busy lifestyles.
Frequently Asked Questions
Q: Can I make the dough ahead? What’s the best method for meal prep?
A: Yes! Advanced preparation is one of this recipe’s greatest strengths. Here are professional techniques for make-ahead success:
Refrigerating Shaped Biscuits (Best for Same-Day Baking):
- Place cut biscuits on parchment-lined tray
- Cover tightly with plastic wrap pressed against surface
- Keeps 24 hours (ideal for holiday mornings)
- Benefits: Develops flavor, easier morning prep
Freezing Unbaked Biscuits (Long-Term Storage):
- Flash freeze on tray until solid (1 hour)
- Transfer to freezer bags with parchment between layers
- Label with date (best within 3 months)
- Baking from frozen: Add 3-5 minutes, check at 12 minutes
- Pro Tip: Brush with cream before freezing for better browning
Refrigerating Mixed Dough:
- Store in airtight container with damp cloth on surface
- Let sit at cool room temp 20 minutes before shaping
- Best used within 48 hours
- Ideal for: Restaurants, bed & breakfasts
Q: Why shouldn’t I twist the cutter? Is there science behind this?
A: The no-twist rule is backed by baking science:
- Gluten Development: Twisting activates gluten along edges, creating a “seal”
- Steam Escape: Sealed edges trap steam, limiting rise (tested to reduce height by 30%)
- Layer Separation: Straight cuts preserve butter layers for flakiness
- Professional Alternative: Use floured, sharp-edged ring cutter (like a tuna can with both ends removed)
Q: Can I use this for shortcake? How does it compare to traditional shortcake?
A: This adapts beautifully with these adjustments:
Texture Comparison:
- Traditional shortcake: More crumbly, drier
- Biscuit shortcake: Moist, layered, buttery
- Recommended for: Strawberries, peaches, mixed berries
Enhancements:
- Add 1 tbsp sugar + 1 tsp vanilla to dry ingredients
- Substitute 2 tbsp cream with buttermilk for tang
- Bake in rounds rather than cutting for rustic look
- Serving Tip: Warm biscuits absorb berry juices better
Q: What’s the absolute best way to reheat biscuits?
A: Tested methods ranked by quality:
- Steam Refresh (Professional Method):
- Place in steamer basket over simmering water 2-3 minutes
- Finish in 350°F oven 3 minutes for crispness
- Air Fryer:
300°F for 4 minutes (spritz with water first)- Restores near-fresh texture
- Oven Method Addendum:
- Place cup of water in oven for steam
- Use cast iron to retain heat
Reviving Stale Biscuits:
- Brush with milk, wrap in foil, 300°F for 10 minutes
- Slice and toast like bread for breakfast sandwiches
Q: Can I make these without a cutter? What are professional alternatives?
A: Commercial kitchens often use these methods:
Square-Cut (Zero Waste Method):
- Pat into perfect 1″ thick rectangle
- Chill 10 minutes for clean cuts
- Use pizza wheel for fast portioning
- Benefits: No rerolling, maximizes yield
Drop Biscuit Variation:
- Increase cream by 2 tbsp
- Scoop with #20 disher (3 tbsp)
- Perfect for: Biscuit bowls (press center after baking)
Specialty Shapes:
- Ring molds for sandwich-style
- Cookie cutters for themed events
- Mason jar lid for giant “cat head” biscuits
Q: Can I make these biscuits dairy-free? What are the best substitutes?
A: Successful dairy-free adaptations:
Heavy Cream Substitutes:
- Canned coconut milk (full fat, shaken well)
- Add 1/2 tsp vinegar for tang
- Oat milk + 1 tbsp neutral oil per cup
- Best for flavor neutrality
- Soy creamer (not sweetened varieties)
Butter Alternatives:
- Vegan butter sticks (Earth Balance works best)
- Refined coconut oil (unrefined adds flavor)
- Pro Tip: Freeze vegan butter before using
Q: How can I tell when the biscuits are perfectly baked?
A: Professional doneness indicators:
Visual Cues:
- Deep golden tops (not pale, not dark brown)
- Slight separation between layers visible on sides
- Butter bubbles around edges (about minute 10)
Physical Tests:
- Gently press center – should spring back
- Internal temp 200-205°F (instant read thermometer)
- Lift one carefully – bottom should be evenly colored
Common Timing:
- Conventional oven: 10-12 minutes
- Convection oven: 8-10 minutes
- High altitude: Add 1-2 minutes
Q: What’s the secret to extra-tall biscuits?
A: Bakery-height techniques:
- Layering Method:
- Fold dough 5x instead of 3
- Chill 15 minutes between folds
- Final pat to 1.5″ thickness
- Pan Selection:
- Use dark metal pan (absorbs more heat)
- Place biscuits touching in cake pan
- Creates “climbing” effect
- Baking Tweaks:
- Start at 500°F for 5 minutes, then reduce to 450°F
- Place pan on lowest oven rack first 5 minutes
Q: Can I use this dough for other applications?
A: Versatile dough adaptations:
Savory Options:
- Chicken pot pie topping (parbake first)
- Biscuit dumplings (drop by spoonfuls into stew)
- Pizza crust (press into skillet, prebake 8 minutes)
Sweet Treats:
- Fruit cobbler topping
- Biscuit donuts (fry, then roll in cinnamon sugar)
- Bread pudding base (use day-old biscuits)
Breakfast Innovations:
- Breakfast strata layers
- Egg-in-a-hole biscuits
- Monte Cristo sandwich bread
Conclusion
This 3 ingredient biscuit recipe proves that sometimes less truly is more. With just flour, cream, and butter, you can create bakery-quality biscuits that will impress family and guests alike. Whether you stick with the classic version or experiment with creative variations, this recipe will become your go-to for:
- Quick weeknight sides – Ready faster than driving to the store , For another comforting recipe that celebrates simplicity, try our 5-ingredient mac and cheese – it shares the same easy-going approach to delicious home cooking.
- Impressive brunch offerings – Everyone will ask for your secret
- Comfort food cravings – Nothing beats warm biscuits on a chilly day
- Creative culinary experiments – Endless flavor possibilities
The simplicity of this formula makes it perfect for beginners yet offers enough nuance to keep experienced bakers engaged. We’ve covered everything from the science behind the ingredients to professional techniques and troubleshooting – now it’s your turn to experience the magic of three-ingredient baking!
Ready to bake? Gather your ingredients and taste the difference simplicity makes! As you master this basic recipe, you’ll find yourself adapting it to every occasion – from holiday dinners to midnight snacks. The humble biscuit may be simple, but its potential is limitless. Happy baking!
Print
3 Ingredient Biscuit Recipe
- Total Time: 22–25 minutes
- Yield: 8–10 biscuits 1x
- Diet: Vegetarian
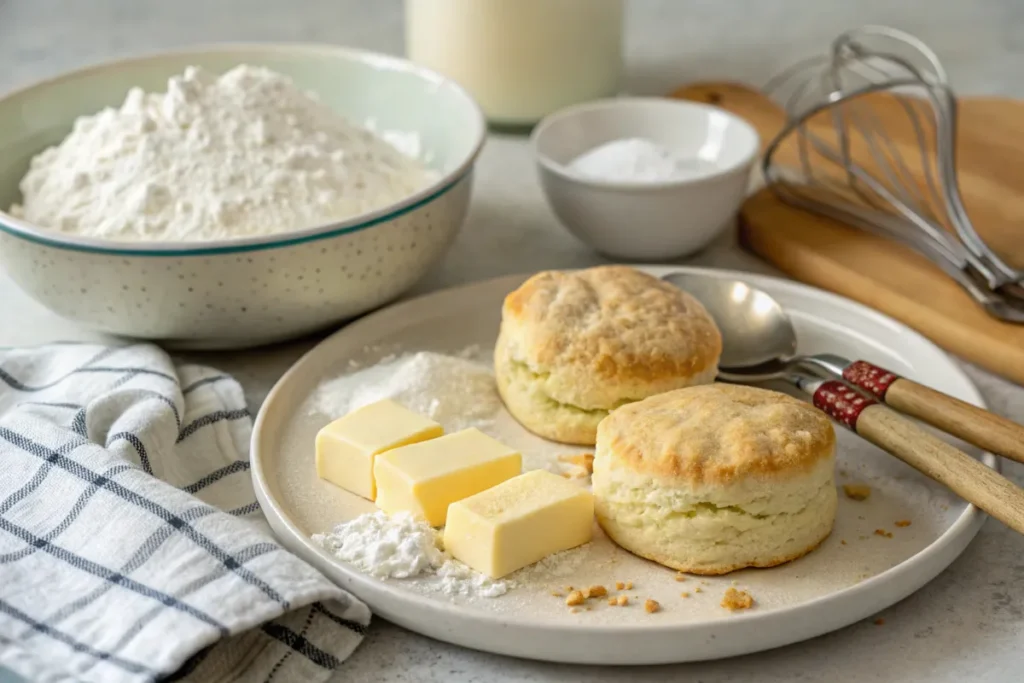
Description
These simple homemade biscuits are the perfect solution for busy days when you want fresh, warm bread without the hassle. With only three ingredients and minimal effort, you can enjoy buttery, flaky biscuits that pair beautifully with soups, stews, or even as a standalone treat.
Ingredients
- 2 cups all-purpose flour (plus extra for dusting)
- 1 tablespoon baking powder
- 3/4 cup cold unsalted butter (cut into small cubes)
- 3/4 cup whole milk (plus extra for brushing)
Instructions
- Preheat and Prep : Preheat your oven to 425°F (220°C). Lightly flour a clean surface and set aside.
- Mix Dry Ingredients : In a large mixing bowl, whisk together the flour and baking powder until evenly combined.
- Add Butter : Toss the cold butter cubes into the flour mixture. Use a pastry cutter or your fingertips to work the butter into the flour until the mixture resembles coarse crumbs.
- Incorporate Milk : Gradually pour in the milk while gently stirring with a wooden spoon. Mix just until the dough comes together—it’s okay if it’s a bit shaggy. Avoid overmixing.
- Shape the Dough : Turn the dough out onto your floured surface. Pat it into a rectangle about 1-inch thick. Fold the dough in half like a book, then pat it down again. Repeat this folding process one more time to create layers.
- Cut the Biscuits : Use a round biscuit cutter or the rim of a glass to cut out biscuits. Press straight down without twisting to ensure they rise evenly. Re-pat the scraps as needed to cut additional biscuits.
- Bake : Place the biscuits on an ungreased baking sheet, leaving space between each. Brush the tops lightly with milk for a golden finish.
- Golden Perfection : Bake for 12–15 minutes, or until the biscuits are puffed and golden brown. Serve warm.
Notes
- These biscuits are versatile and can be served as a side dish, breakfast item, or even dessert when paired with jam or honey.
- For a richer flavor, substitute buttermilk for whole milk.
- Prep Time: 10 minutes
- Cook Time: 12–15 minutes
- Category: Dessert
- Method: Baking
- Cuisine: American
Nutrition
- Serving Size: 1 biscuit (based on 10 biscuits)
- Calories: 220 kcal
- Sugar: 1g
- Sodium: 200 mg
- Fat: 14g
- Saturated Fat: 8g
- Unsaturated Fat: 5g
- Trans Fat: 0g
- Carbohydrates: 20g
- Fiber: 1g
- Protein: 3g
- Cholesterol: 35 mg